Packer on GCP with Cloud Build
Table of Contents

上一篇使用 Packet 將建置 VM Image 的步驟自動化。本文將會使用 GCP 上的 Cloud Build 來與 Source Control 做結合,達成只要上 code 就會建置新版本的 VM Image。
本文假設使用者已安裝並熟悉 Google Cloud SDK(gcloud)
為 gcloud 指令指定目前的專案
gcloud config set project YOUR_PROJECT_ID
啟用 Cloud Build API 與 Storage API
gcloud services enable cloudbuild.googleapis.com
gcloud services enable compute.googleapis.com
gcloud services enable storage-api.googleapis.com
給予 Cloud Build Service Account 專案編輯者的權限,使其可以操作專案中的 GCP 服務。
例如建立 VM,建立 VM Image 等。
PROJECT=$(gcloud config get-value core/project)
CLOUD_BUILD_ACCOUNT=$(gcloud projects get-iam-policy $PROJECT --filter="(bindings.role:roles/cloudbuild.builds.builder)"  --flatten="bindings[].members" --format="value(bindings.members[])")
gcloud projects add-iam-policy-binding $PROJECT \
  --member $CLOUD_BUILD_ACCOUNT \
  --role roles/editor
於上一篇的專案目錄中新增 cloudbuild.yaml
steps:
- name: 'hashicorp/packer'
  env:
  - 'GCP_PROJECT_ID=$PROJECT_ID'
  args:
  - build
  - template.json
專案目錄如下:
cloudbuild.yml
index.html
template.json
於專案目錄下手動觸發 Cloud Build 建置
gcloud builds submit
看到以下訊息即是建置成功!可以到 Image 頁面確認。
Build 'googlecompute' finished.
與 GitHub 連結 
先在 GitHub 建立一個 Repo,並將專案目錄上傳上去。
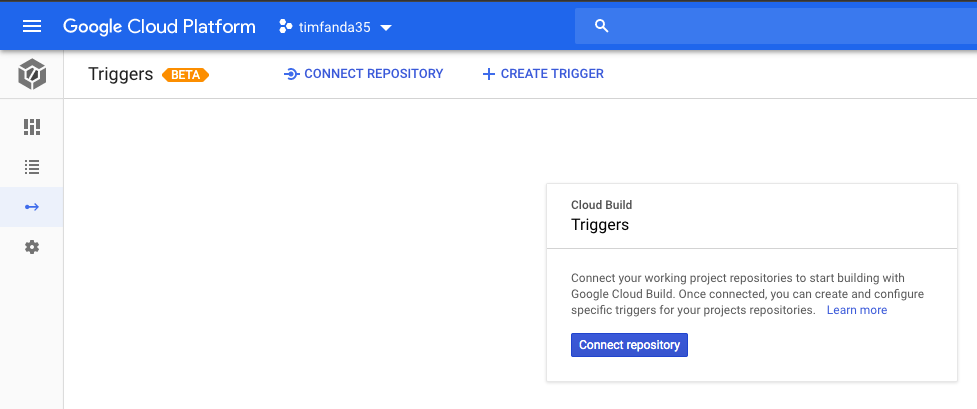
訪問頁面 https://console.cloud.google.com/cloud-build/triggers
點擊「Connect repository」。
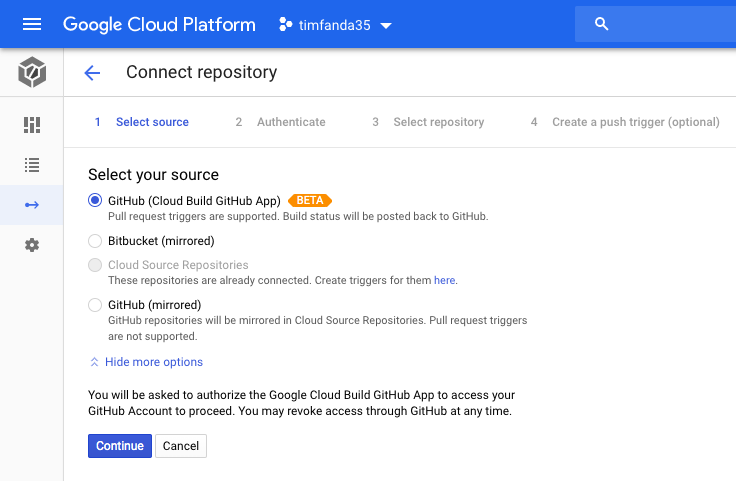
勾選「GitHub (Cloud Build GitHub App)」,點擊「Continue」。
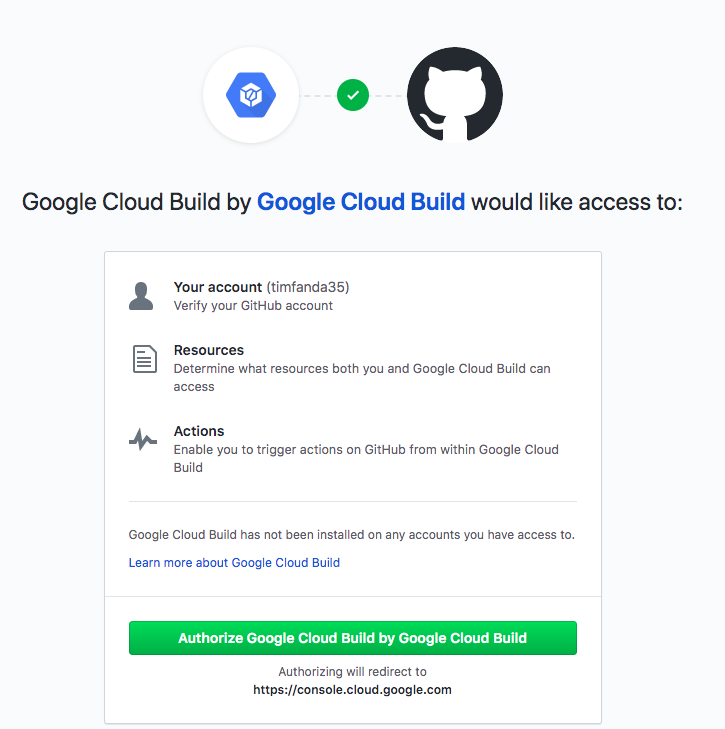
點擊「Authorize Google Cloud Build by Google Cloud Build」。
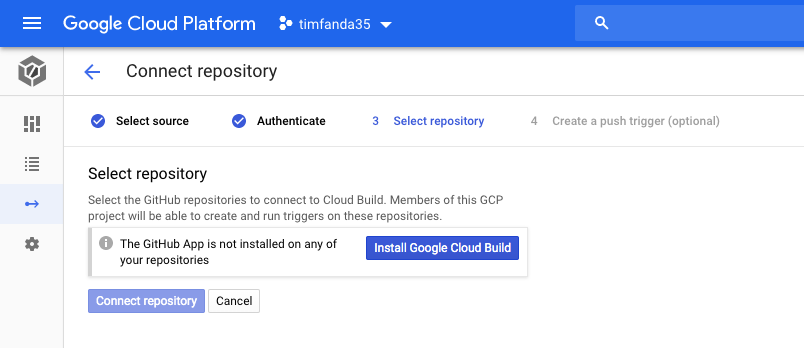
點擊「Install Google Cloud Build」安裝 GitHub APP。 這會彈出授權視窗。
點擊個人帳號。
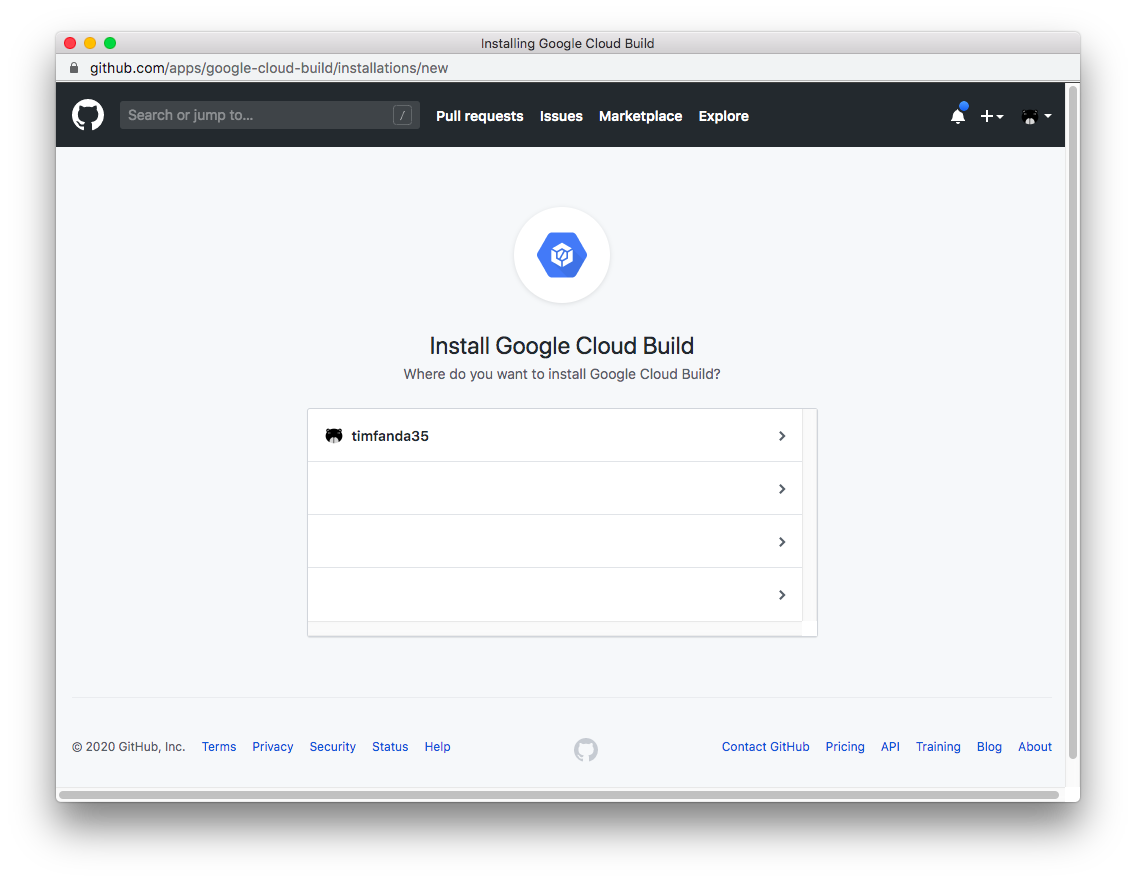
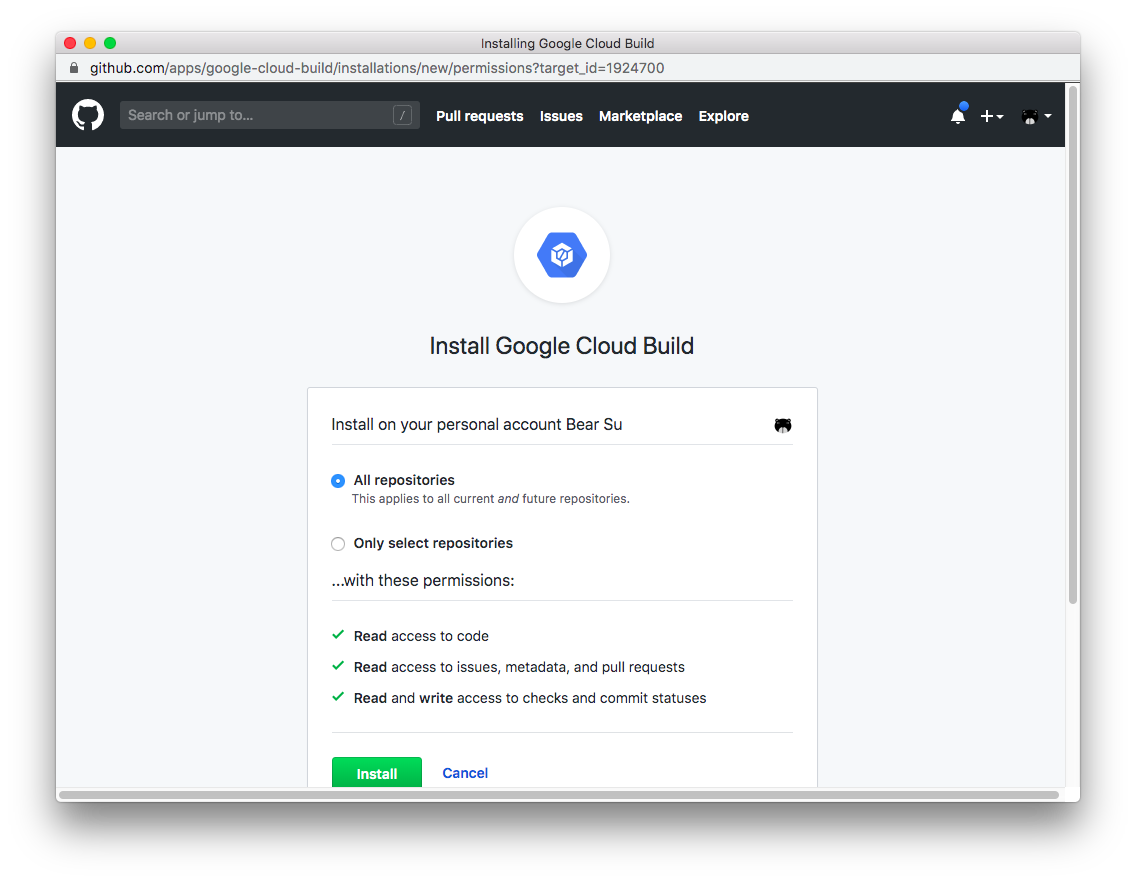
點擊「Install」。(可以只選擇測試的 repo,你可以隨時在 GitHub Setting 中的 Applications 頁面中設定)
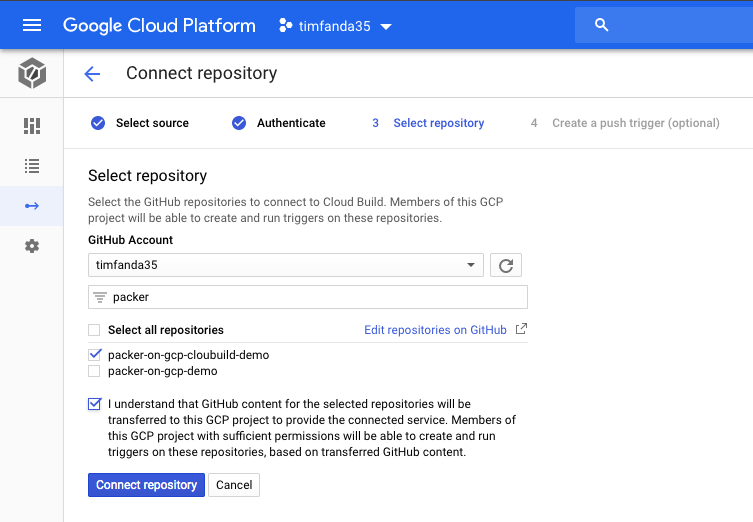
勾選想要連結的 Repo,勾選同意事項。點擊「Connect repository」。
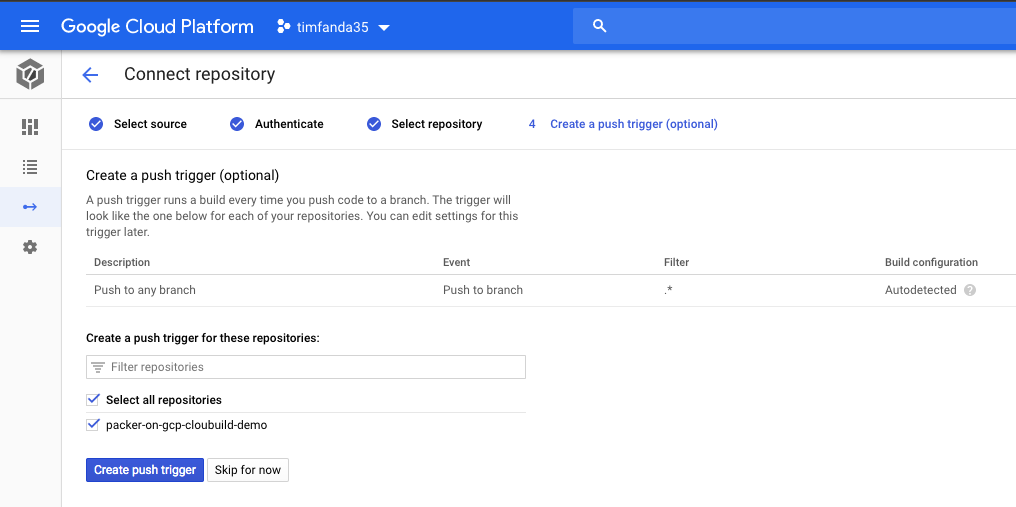
點擊「Create push trigger」。
這邊以最簡單的方式建立,任一 Branch 有更新就會觸發建置。
觸發 Cloud Build 建置 
編輯專案目錄下 index.html
<h1>Hello, Packer on Cloud Build!</h1>
推上 GitHub Repo。
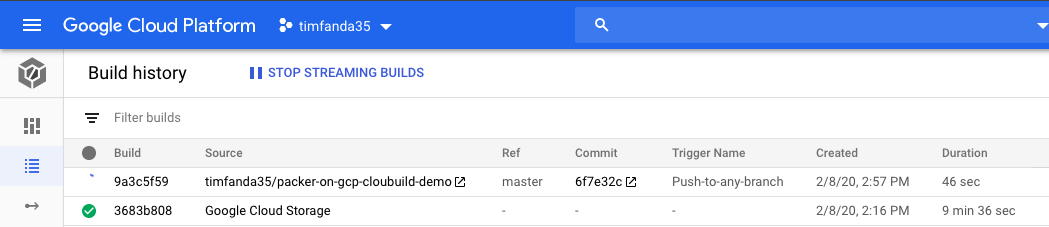
就可以在頁面 https://console.cloud.google.com/cloud-build/builds 看到有新的建置正在進行了。
參考連結: