Rails 使用者驗證:Devise Gem Getting Start
Table of Contents
Devise gem 是在 Rails 社群中受到廣泛使用於使用者驗證的 gem。我們可以使用 Devise 在 Rails 專案快速實現最基礎的使用者驗證功能,例如註冊、登入、以及忘記密碼等等。
簡介 
雖然 Devise 可以協助我們快速實作使用者驗證功能,但有趣的是在 Repo 的 README Starting with Rails? 章節,寫著並不推薦 Rails 初學者使用。這是因為 Devise 是基於 Rails 框架設計,如果完全不了解 Rails,在開發上就很容易迷路。建議從了解 Rails 的架構開始,並嘗試自己建立一個使用者驗證的功能來了解相關的運作原理,我推薦這一篇文章:Building a simple authentication in Rails 7 from scratch。
本文我們建立一個新的 Rails 專案來體驗一下如何在 Rails 中加入 Devise 來提供使用者驗證功能。
環境 
本文使用的環境:
- macOS
- Ruby 3.2.2
- Rails 7.1.2
安裝 
建立測試 Rails 專案 
建立 Rails 專案
rails new demo-devise
cd demo-devise
使用 Scaffold 建立 Post Controller 與 Model
bin/rails g scaffold posts title:string content:text
更新 DB Schema
bin/rails db:migrate
更新路由表 config/routes.rb
Rails.application.routes.draw do
  resources :posts
  root "posts#index"

  get "up" => "rails/health#show", as: :rails_health_check
end
啟動 Rails Server 來確認一下
bin/rails server
用瀏覽器開啟網址 http://localhost:3000/
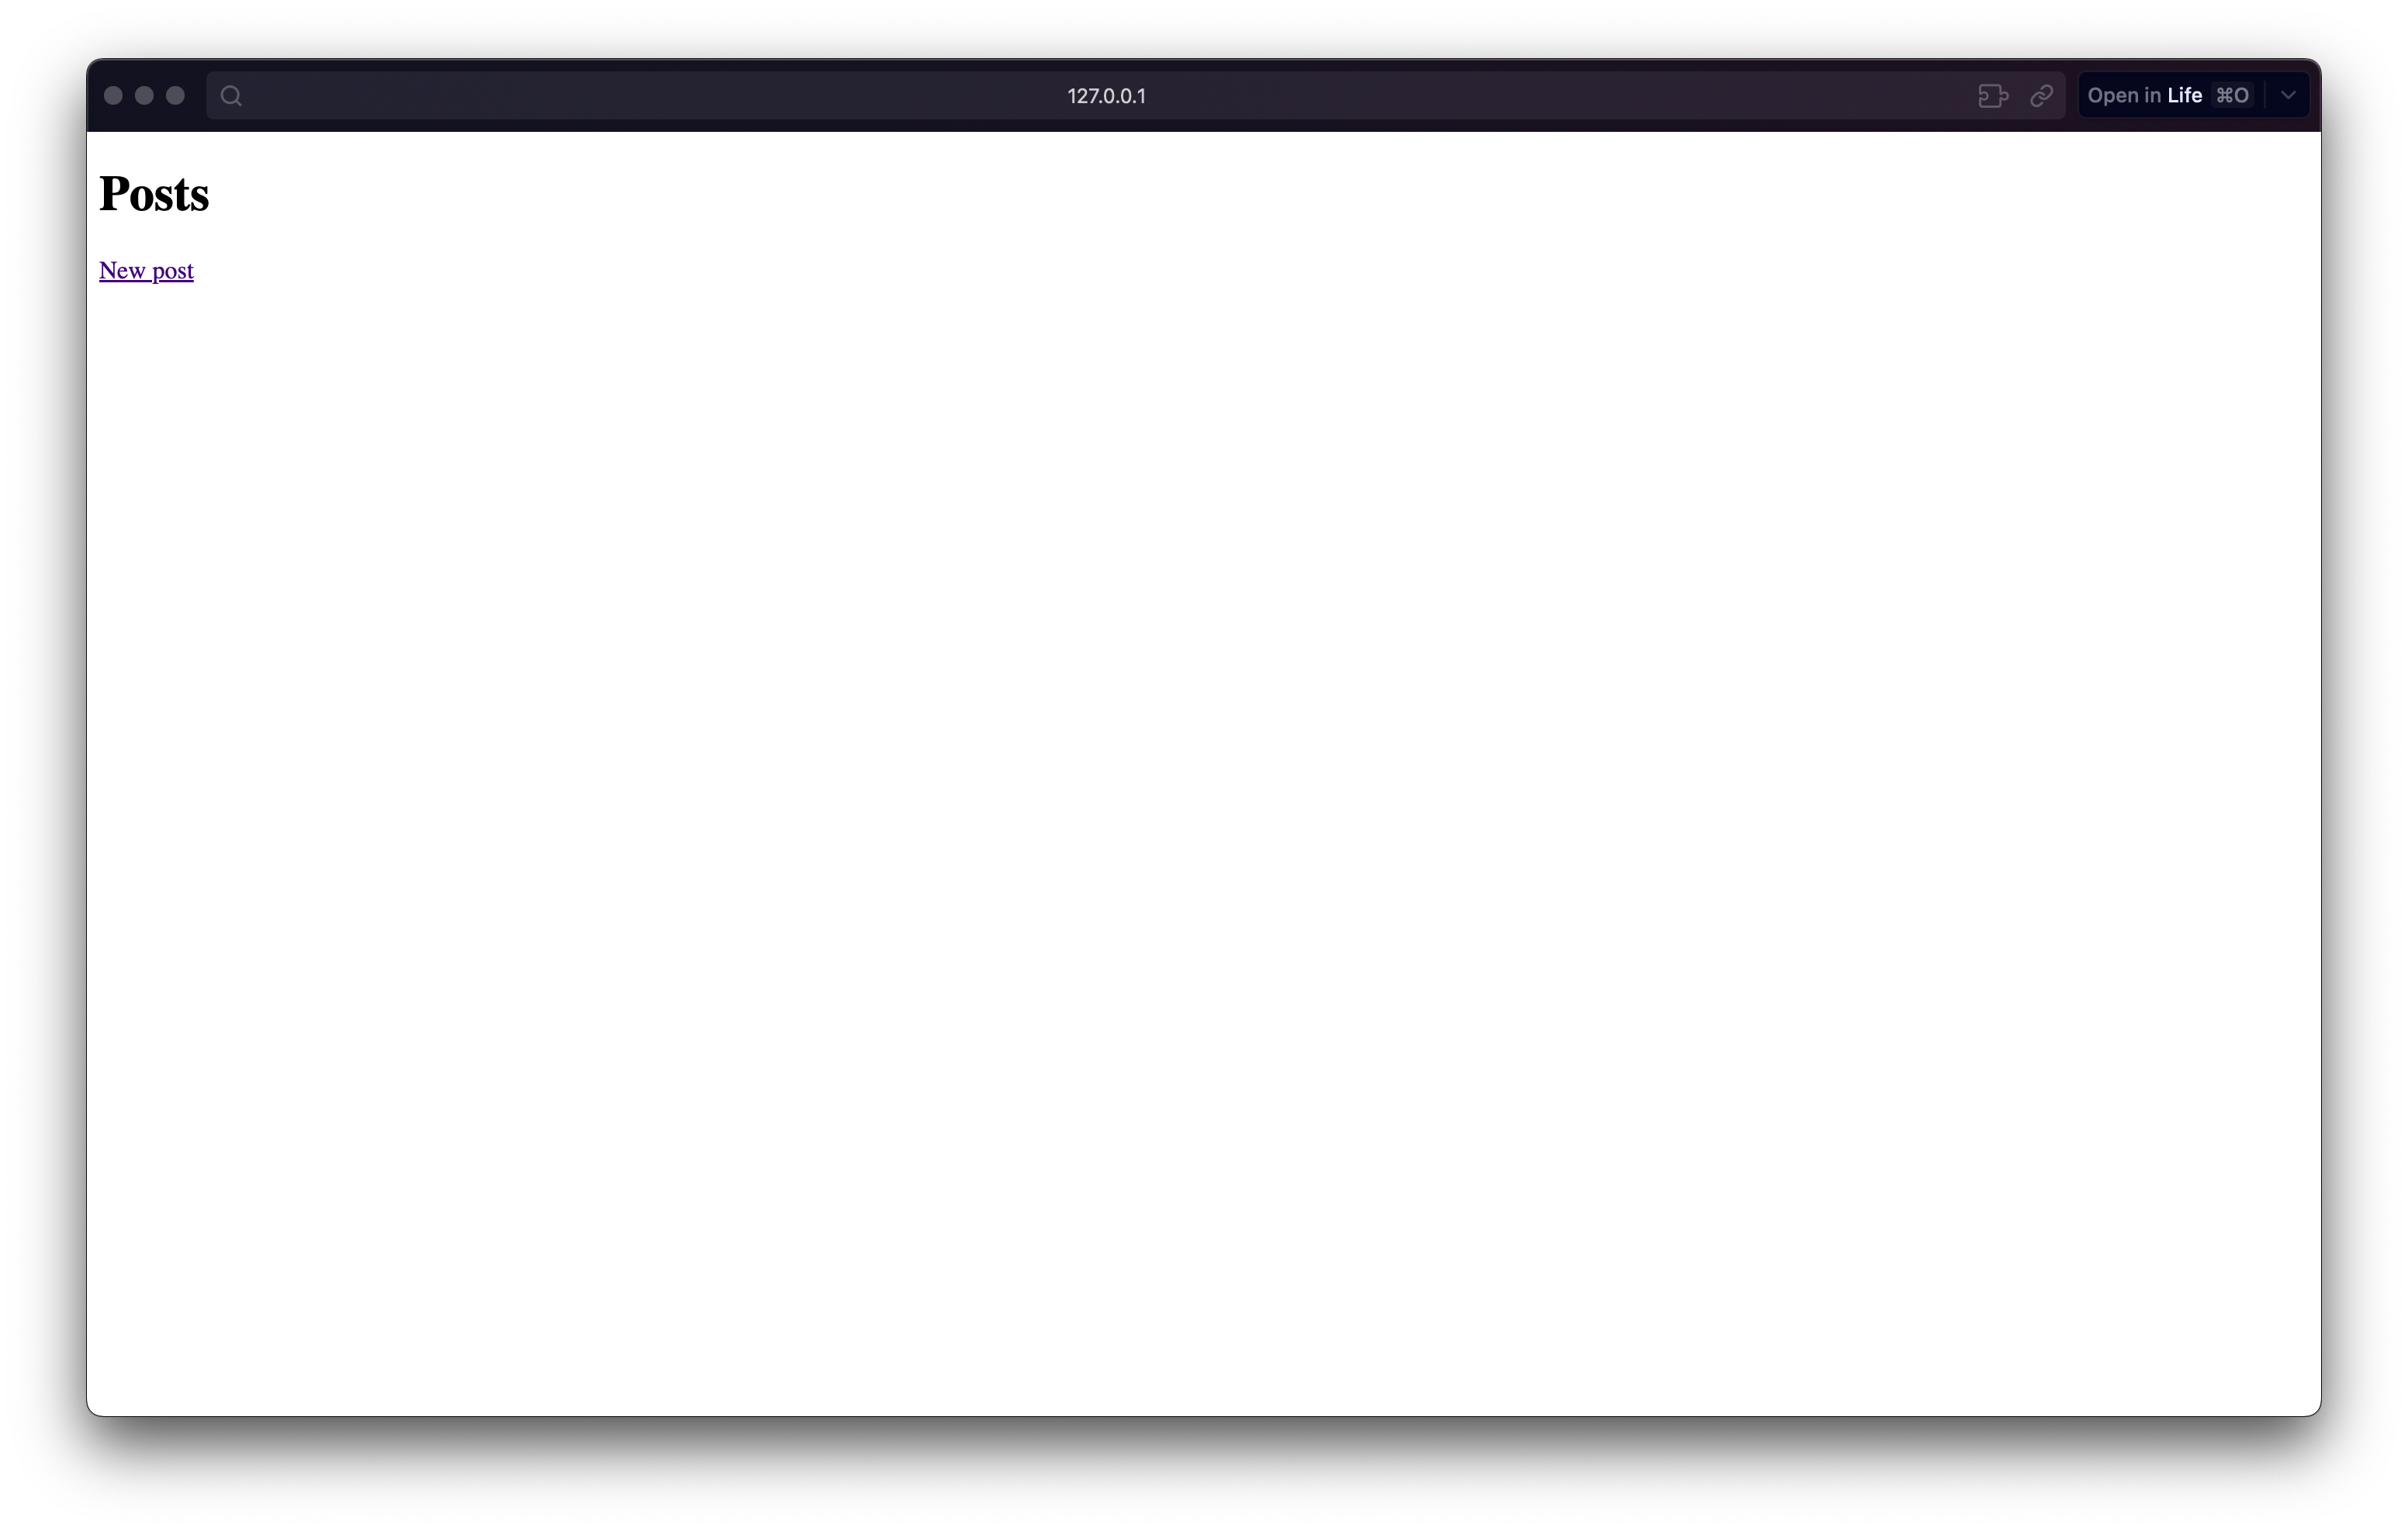
由於沒有使用者驗證,我們可以任意地新增修改資料。
安裝 GEM 
直接執行指令安裝
bundle add devise
或是先修改 Gemfile 再直接執行指令安裝
gem "devise"
bundle install
設定 
產生設定檔 
bin/rails g devise:install
可以從輸出結果看到新增了兩個檔案,以及後續的設定提示:
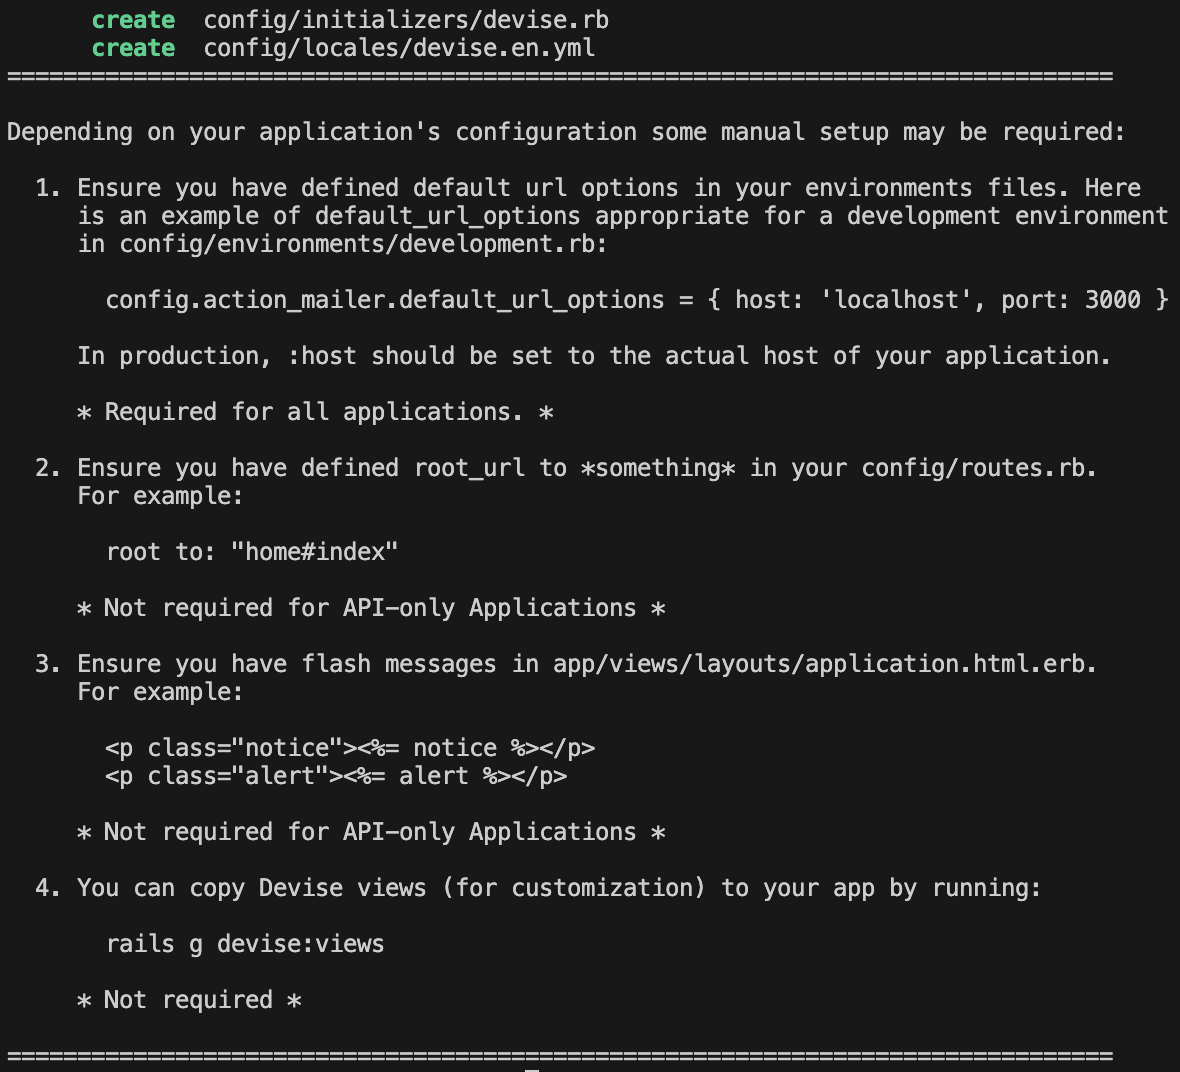
第一個提示是設定測試環境的 default url,這個是為了能夠正確的產生信件內容。Devise 提供的使用者驗證功能中,像是忘記密碼就會寄送重設密碼信給使用者。為了能夠在本機測試環境正常運行,我們需要進行設定。另外為了方便測試,我們也一同安裝 letter_opener gem。
bundle add letter_opener --group "development"
更新 config/environments/development.rb,加上:
config.action_mailer.default_url_options = { host: 'localhost', port: 3000 }

config.action_mailer.delivery_method = :letter_opener
config.action_mailer.perform_deliveries = true
更新驗證 Model 與路由表 
我們透過 Generator 來產生使用者驗證所需要的 DB Schema,通常是使用 User Model,但也可以用其他名稱作為使用者驗證的 Model。
bin/rails g devise User
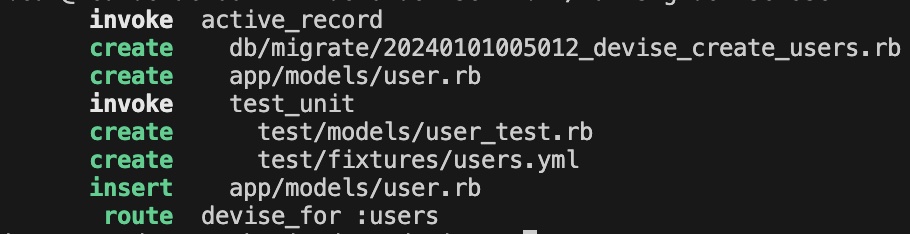
我們來查看一下指令產生的 Migration File:
# frozen_string_literal: true

class DeviseCreateUsers < ActiveRecord::Migration[7.1]
  def change
    create_table :users do |t|
      ## Database authenticatable
      t.string :email,              null: false, default: ""
      t.string :encrypted_password, null: false, default: ""

      ## Recoverable
      t.string   :reset_password_token
      t.datetime :reset_password_sent_at

      ## Rememberable
      t.datetime :remember_created_at

      ## Trackable
      # t.integer  :sign_in_count, default: 0, null: false
      # t.datetime :current_sign_in_at
      # t.datetime :last_sign_in_at
      # t.string   :current_sign_in_ip
      # t.string   :last_sign_in_ip

      ## Confirmable
      # t.string   :confirmation_token
      # t.datetime :confirmed_at
      # t.datetime :confirmation_sent_at
      # t.string   :unconfirmed_email # Only if using reconfirmable

      ## Lockable
      # t.integer  :failed_attempts, default: 0, null: false # Only if lock strategy is :failed_attempts
      # t.string   :unlock_token # Only if unlock strategy is :email or :both
      # t.datetime :locked_at


      t.timestamps null: false
    end

    add_index :users, :email,                unique: true
    add_index :users, :reset_password_token, unique: true
    # add_index :users, :confirmation_token,   unique: true
    # add_index :users, :unlock_token,         unique: true
  end
end
可以發現幾件事:
- Devise 新增了
users資料表。 users資料表預設有兩個用於驗證身份的必要欄位:email與encrypted_password。- 預設啟用忘記密碼與記住登入的功能。
- 預設停用追蹤登入資訊、驗證信箱、鎖定帳號的功能,我們可以移除註解或是之後再新增啟用。
我們查看一下 User Model:
class User < ApplicationRecord
  # Include default devise modules. Others available are:
  # :confirmable, :lockable, :timeoutable, :trackable and :omniauthable
  devise :database_authenticatable, :registerable,
         :recoverable, :rememberable, :validatable
end
我們查看一下 config/routes.rb,已被加上了 Devise 的路由:
Rails.application.routes.draw do
  devise_for :users
  resources :posts
  root "posts#index"

  get "up" => "rails/health#show", as: :rails_health_check
end
執行指令更新 DB Schema
bin/rails db:migrate
加入驗證 
我們做好了驗證 Model 的相關設定,接下來就要用 Devise 來保護我們的頁面功能。
接下來我們將設定 Post 頁面除了 index 與 show 方法,其他頁面我們都要求通過身份驗證才能存取:
class PostsController < ApplicationController
  before_action :authenticate_user!, except: %i[index show]
  before_action :set_post, only: %i[ show edit update destroy ]

...
用瀏覽器開啟網址 http://localhost:3000/
首頁可以正常存取:
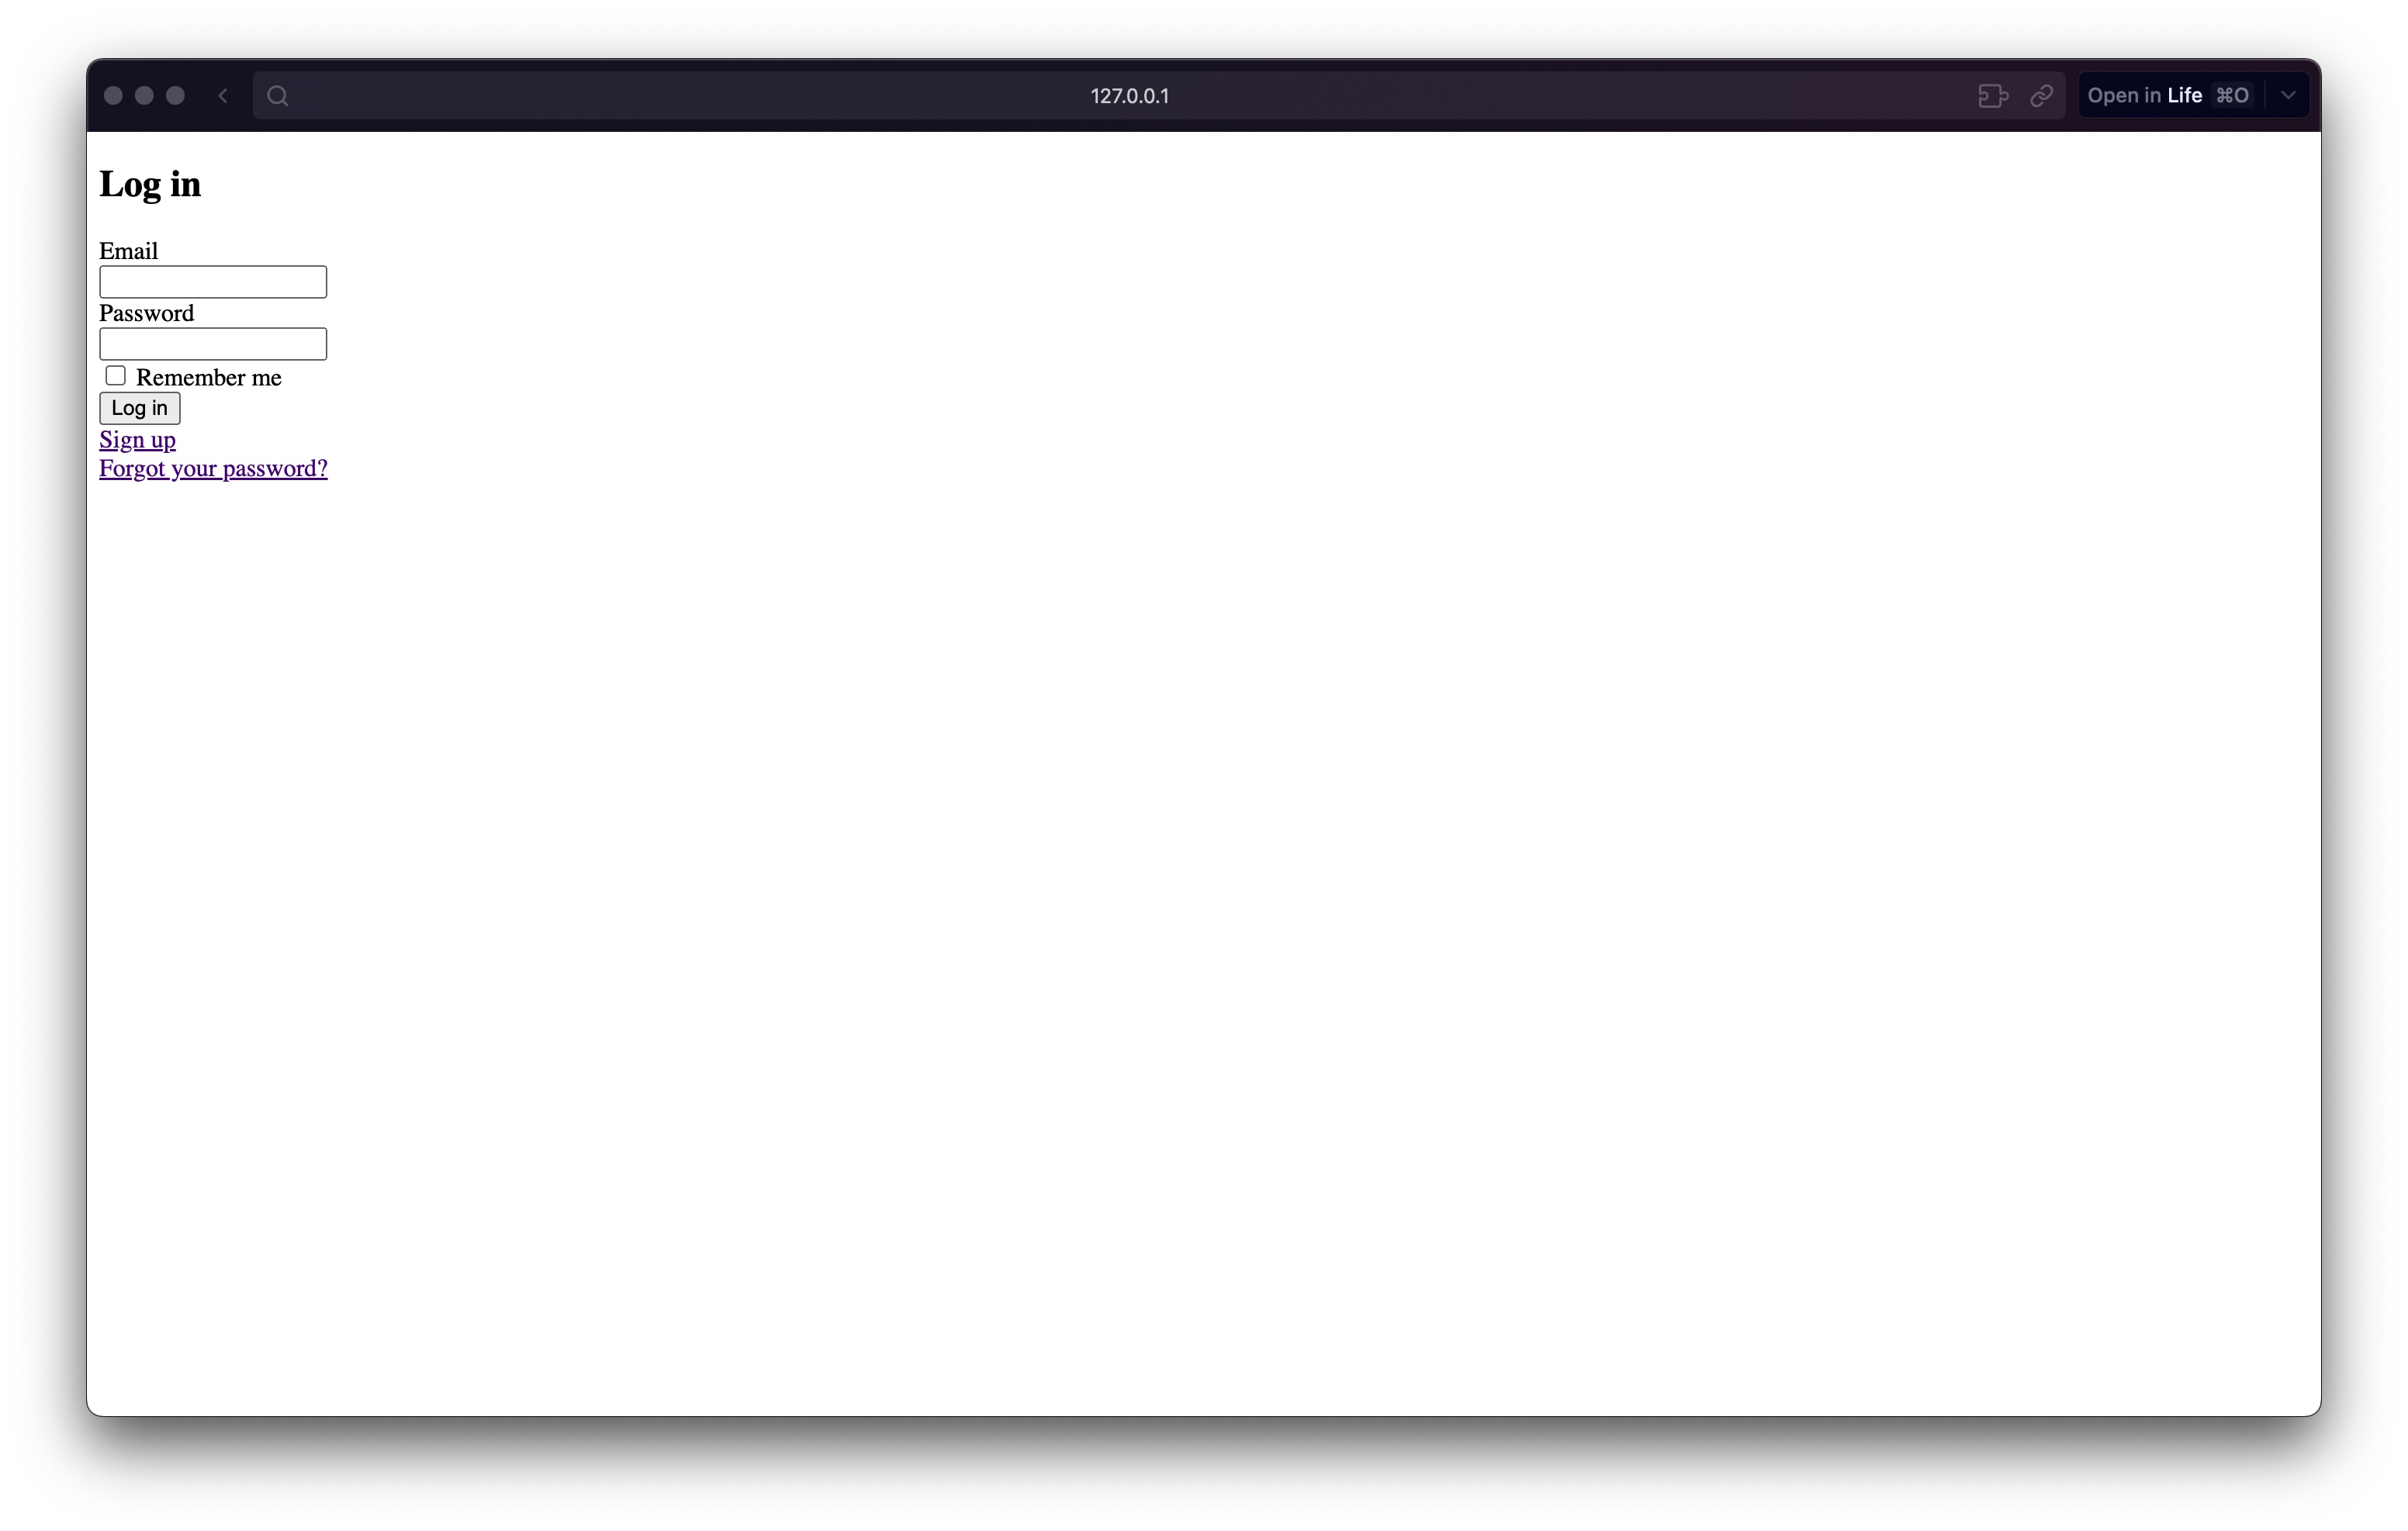
點擊 New Post 連結會轉導到登入頁面:
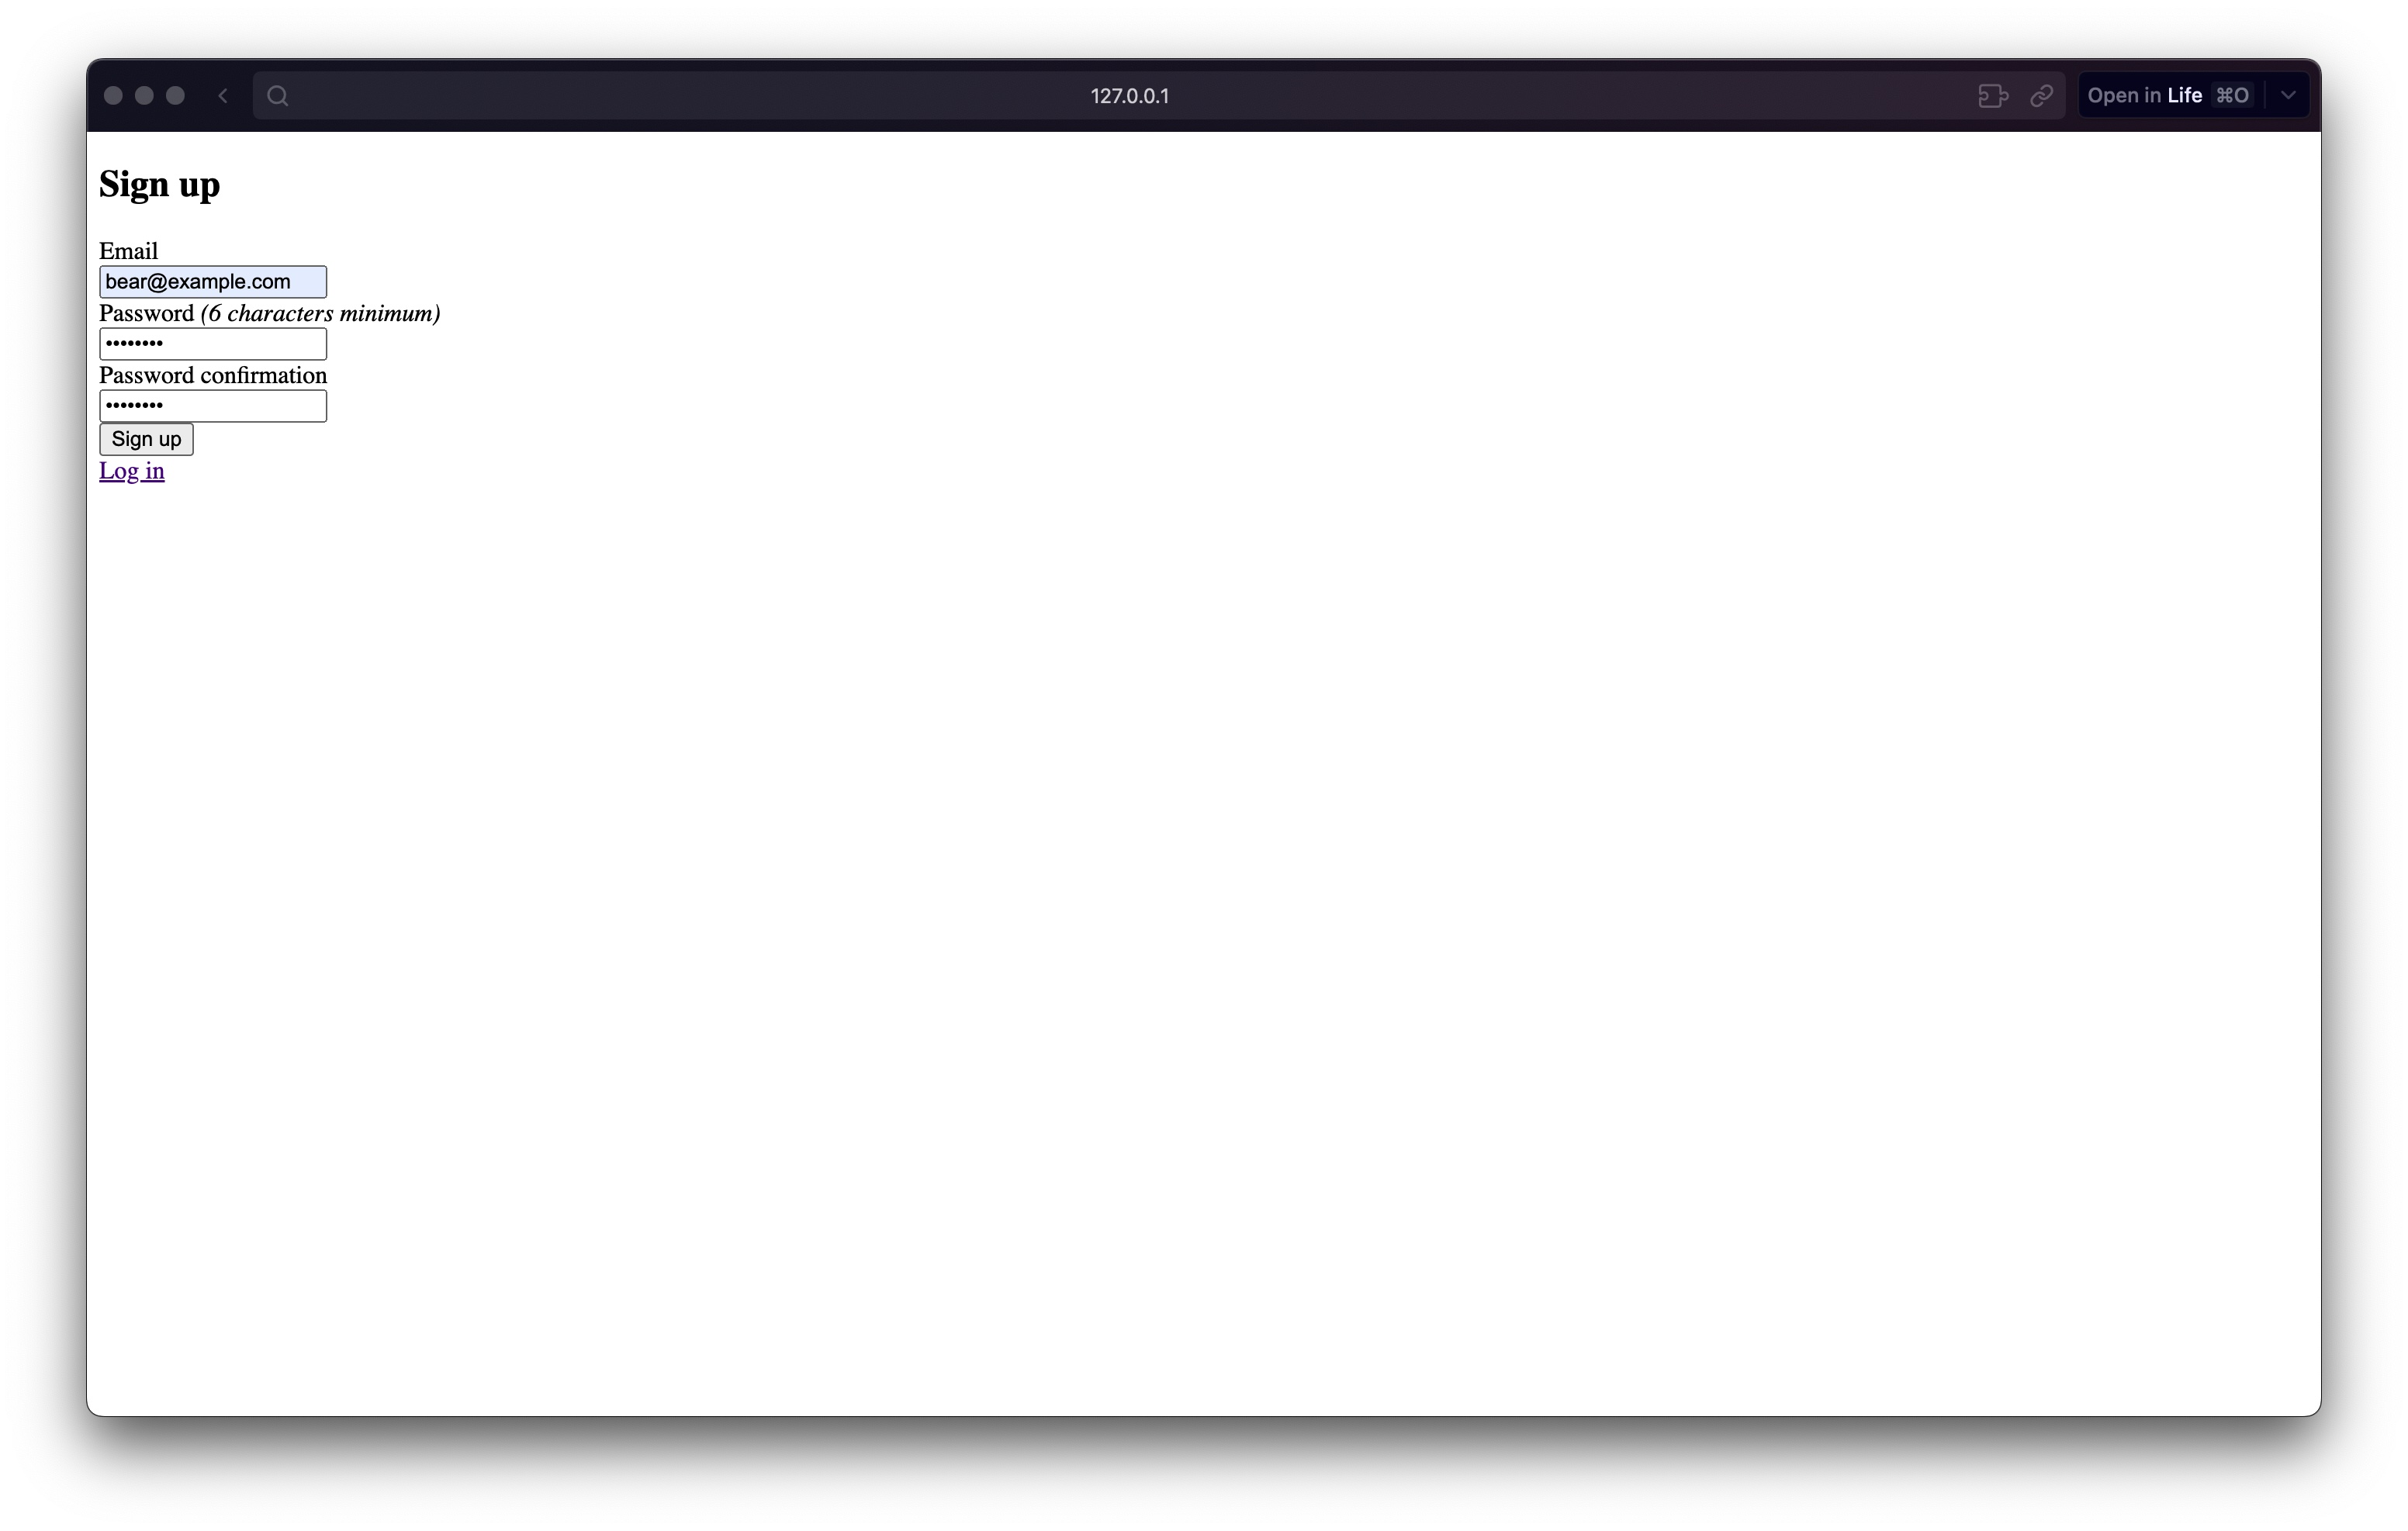
我們點擊 Sign Up 註冊一個新使用者:
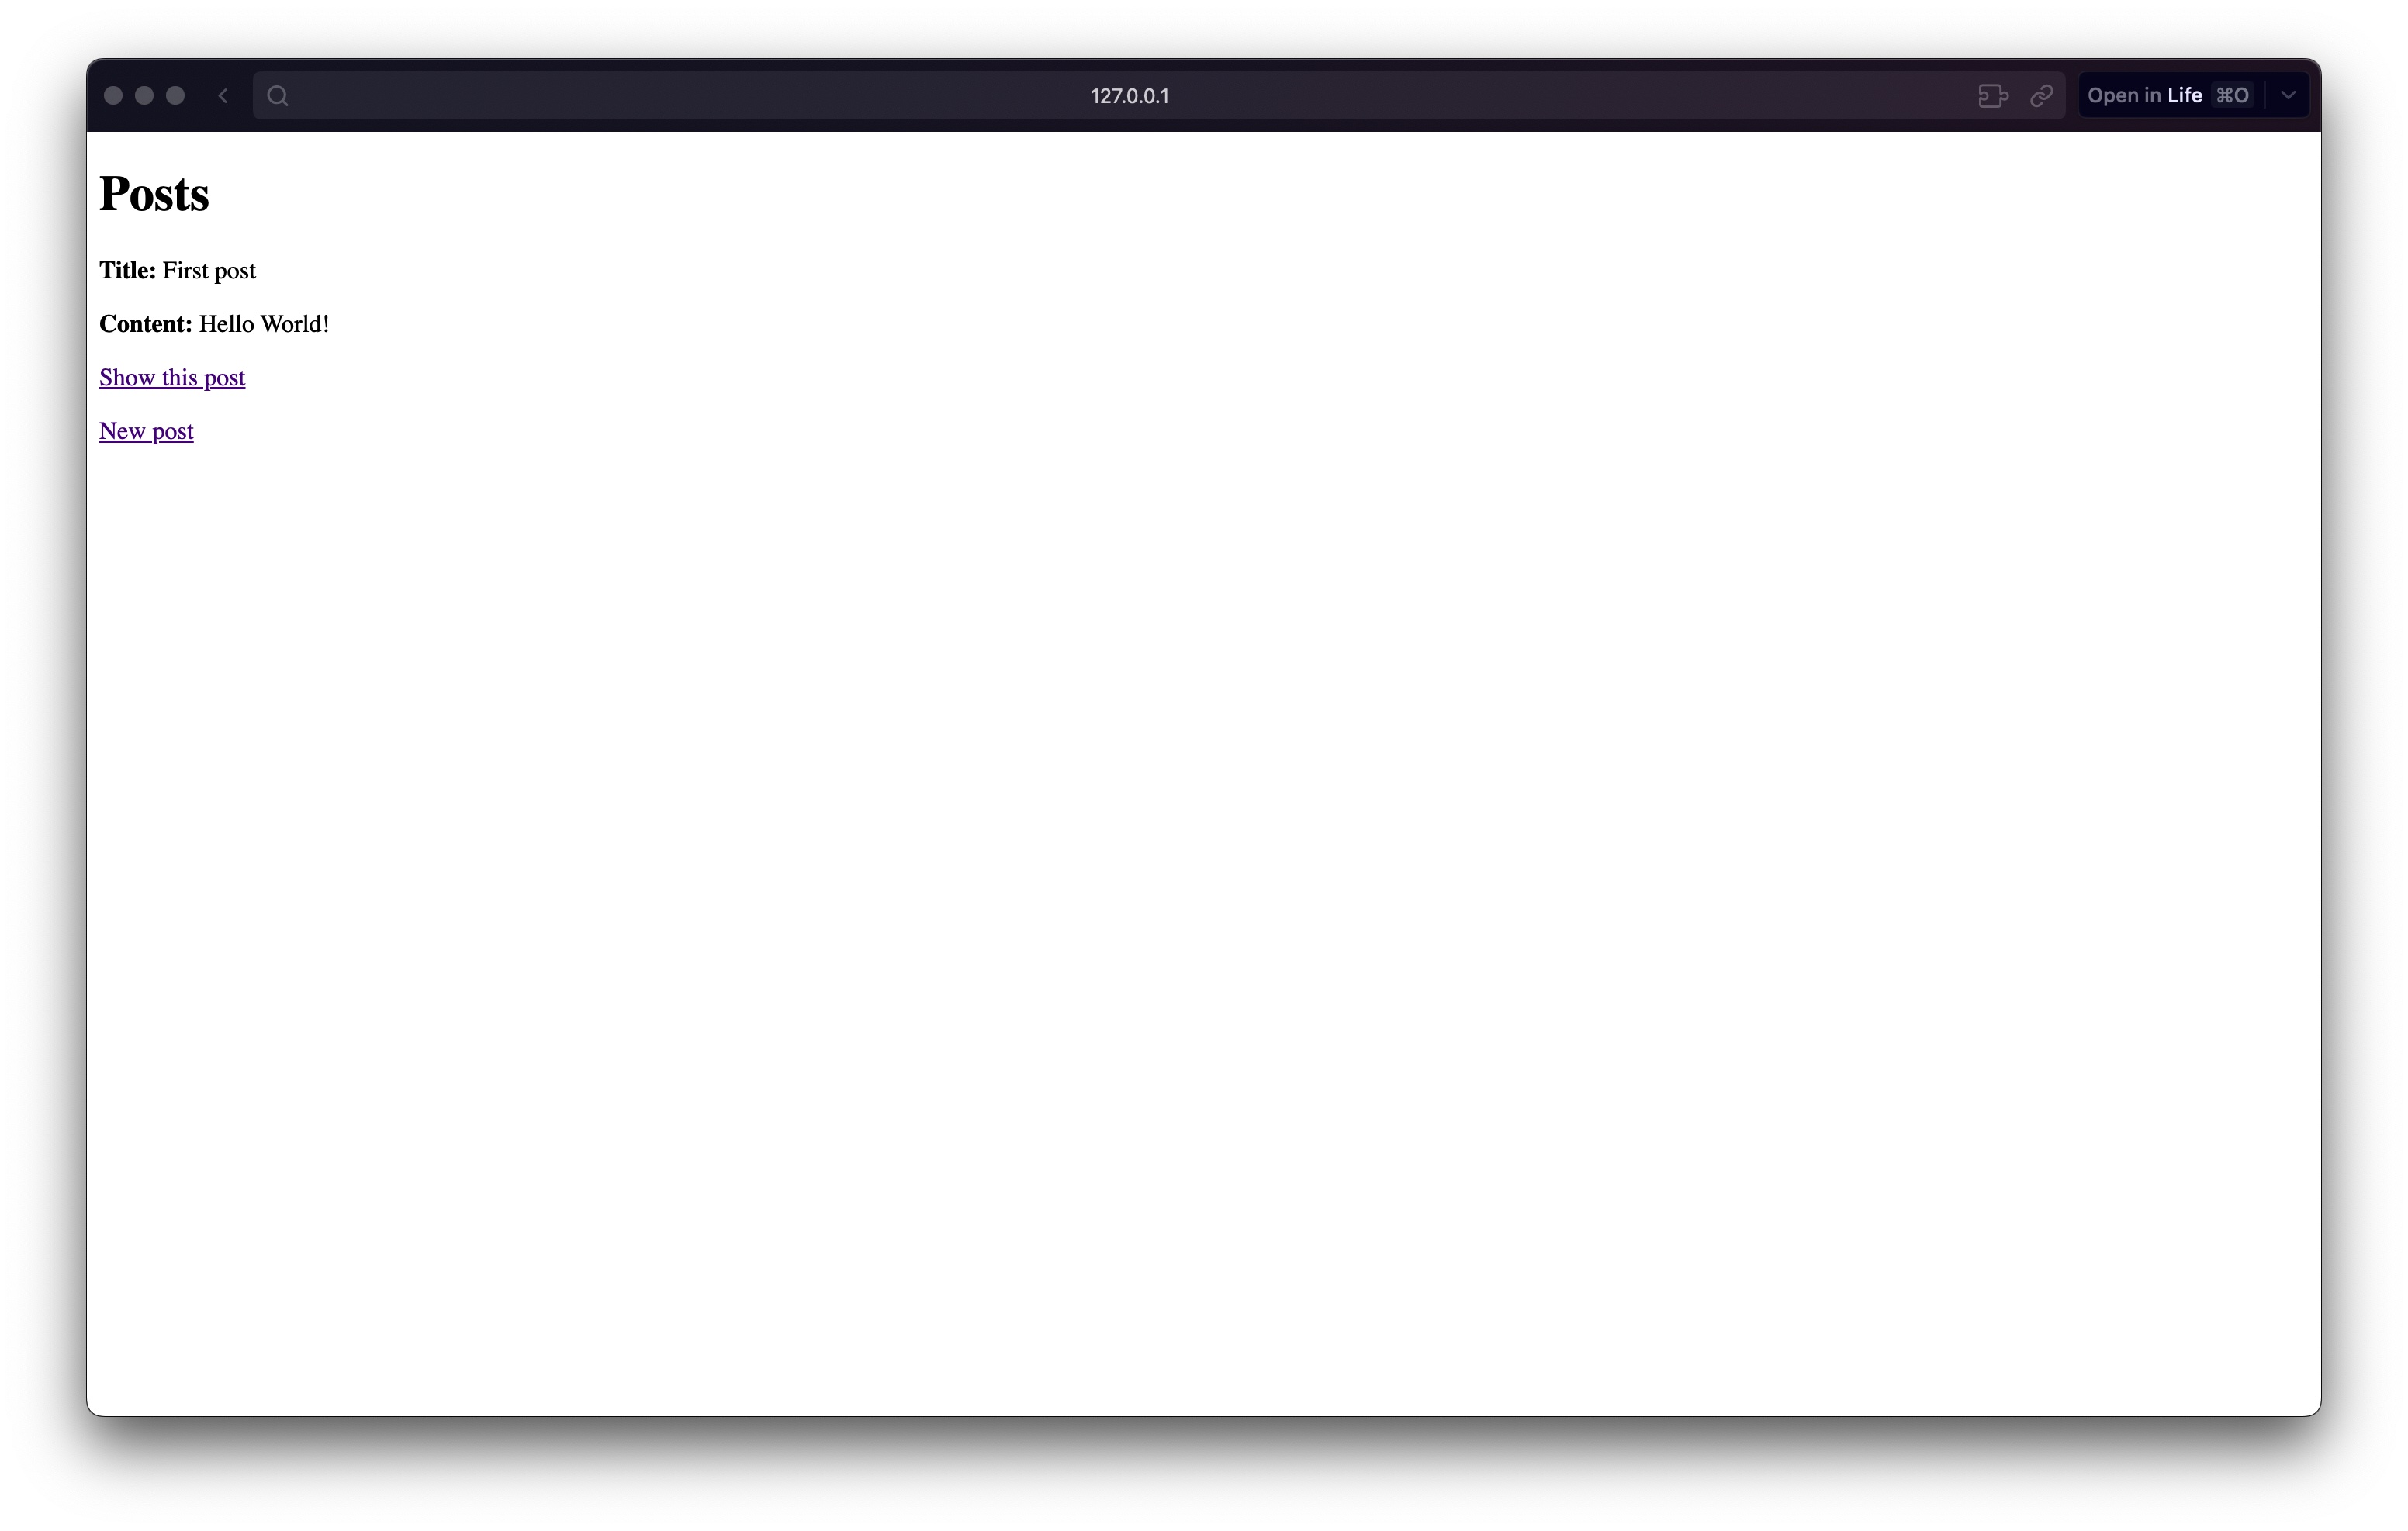
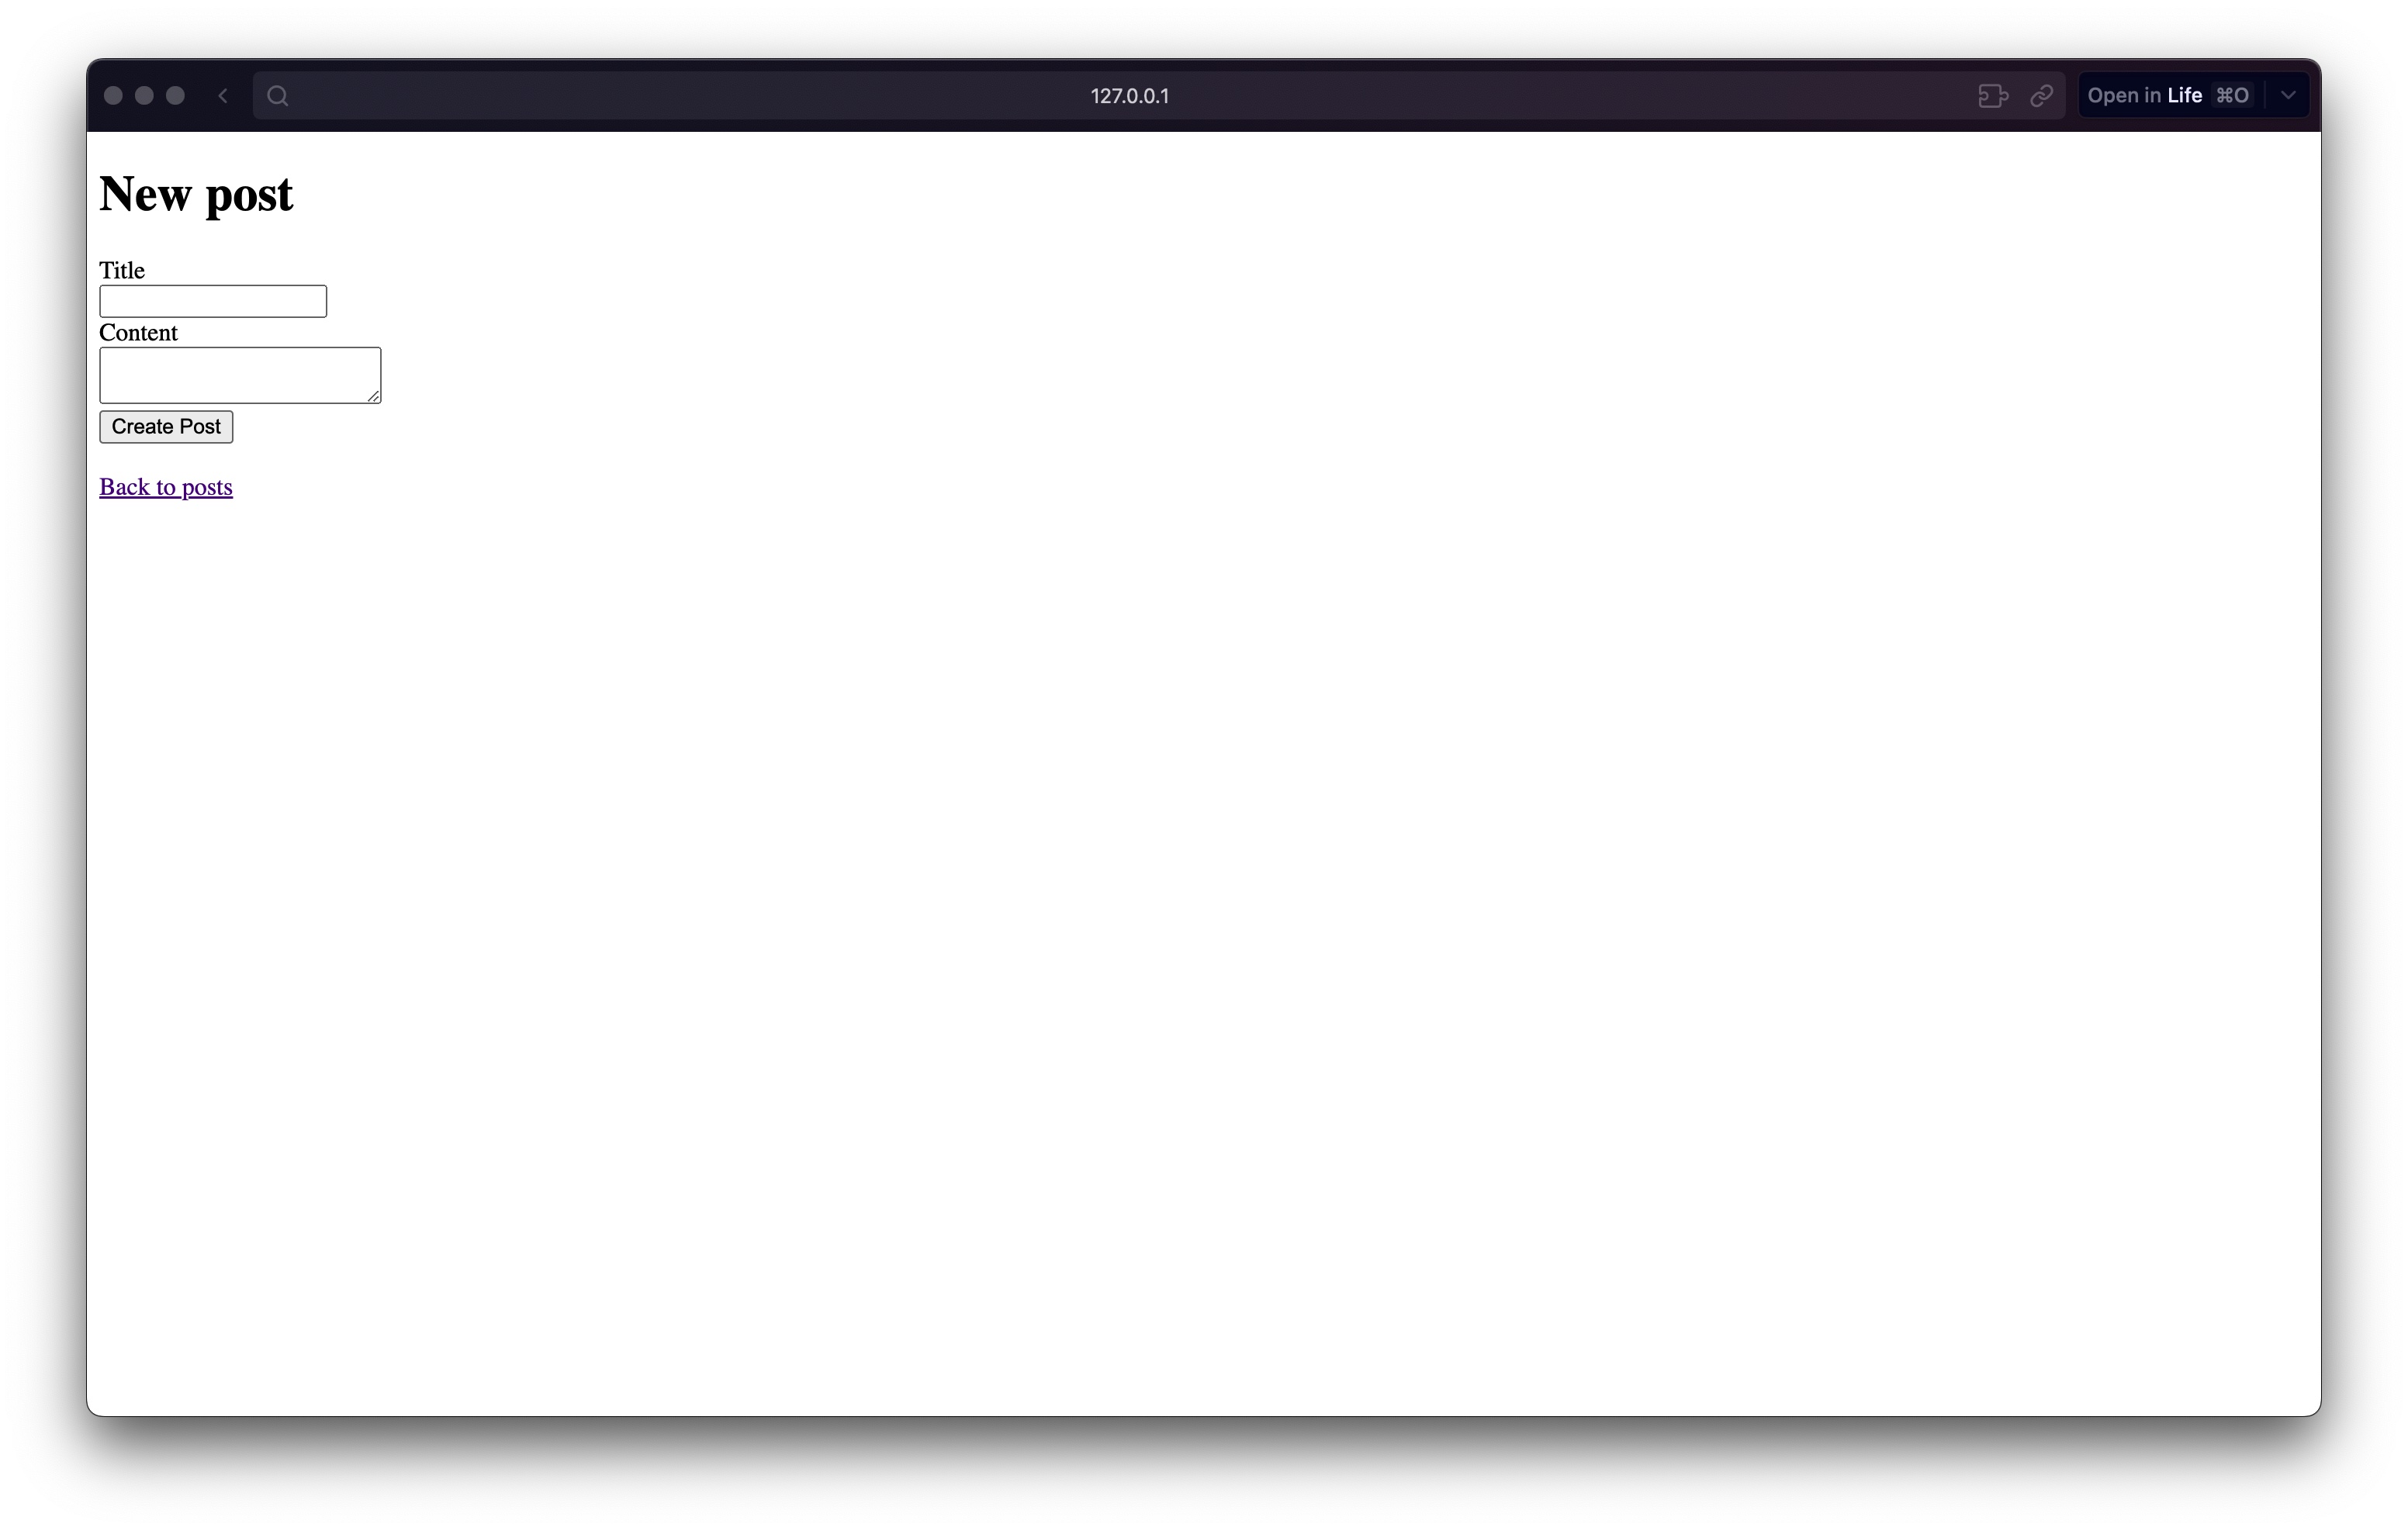
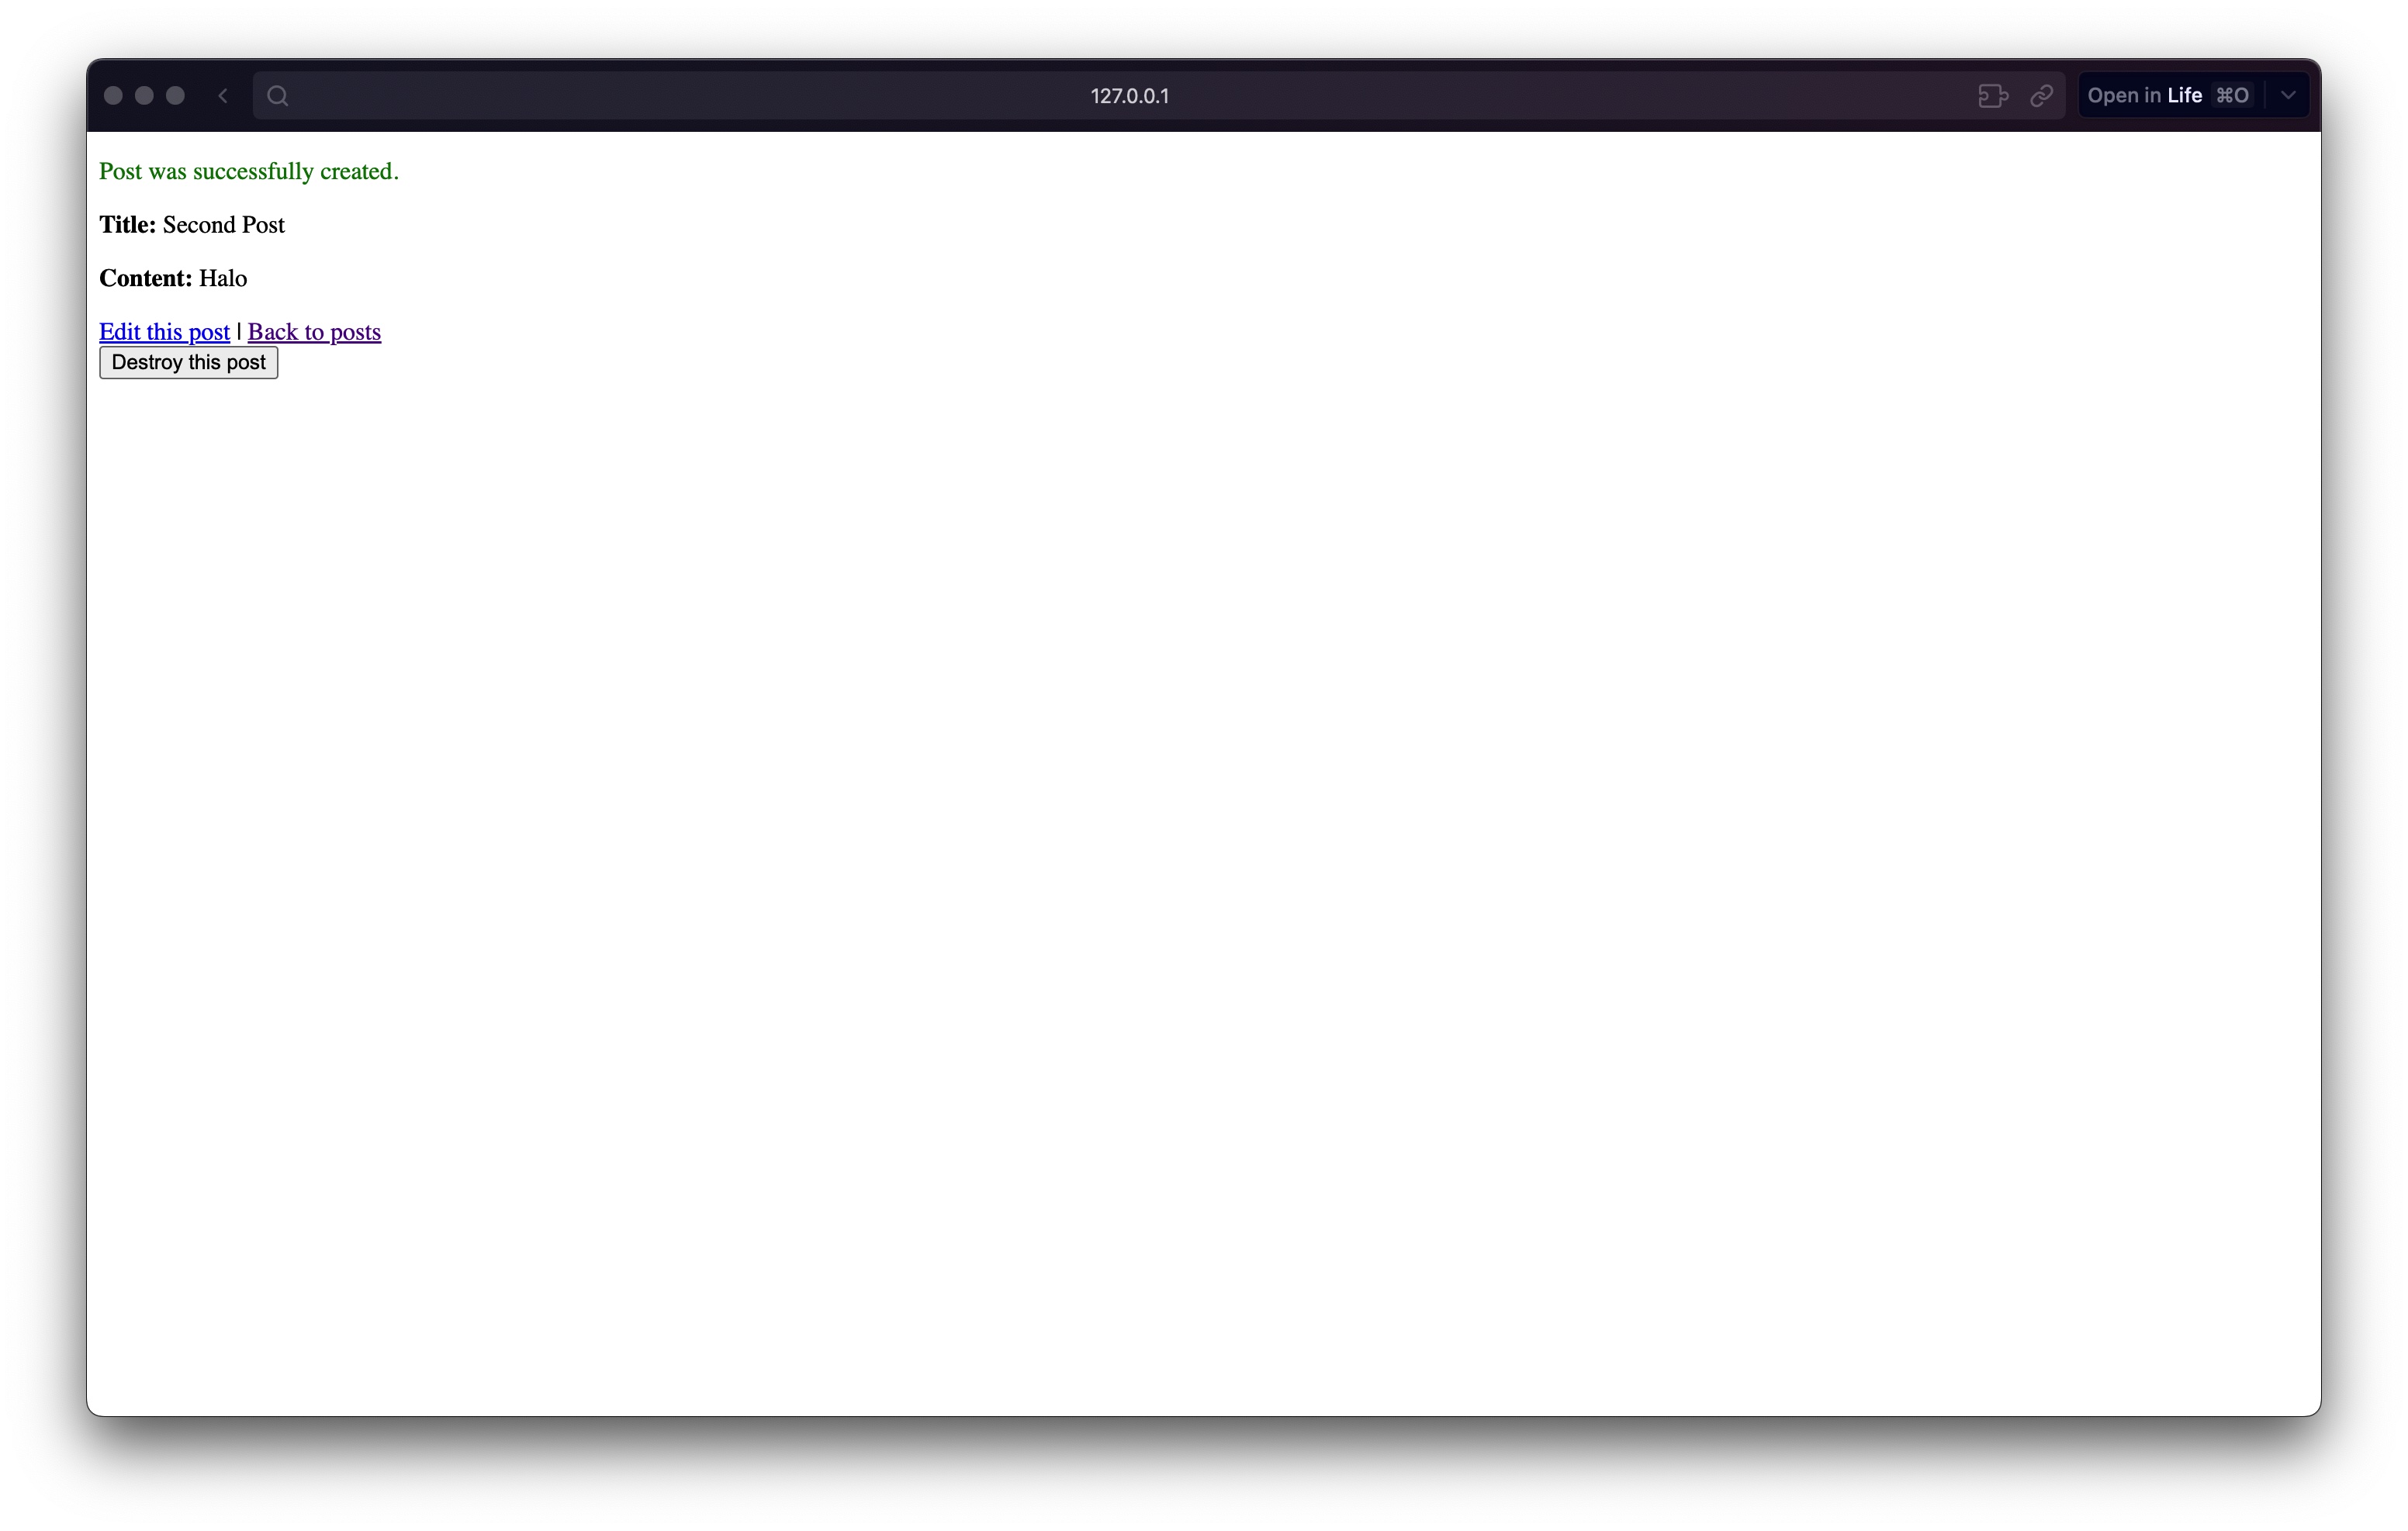
成功後會自動轉導到 New Post 頁面,並可以成功新增資料:
為了能夠確認登入狀態與登出,更新 app/views/layouts/application.html.erb:
<!DOCTYPE html>
<html>
  <head>
    <title>DemoDevise</title>
    <meta name="viewport" content="width=device-width,initial-scale=1">
    <%= csrf_meta_tags %>
    <%= csp_meta_tag %>

    <%= stylesheet_link_tag "application", "data-turbo-track": "reload" %>
    <%= javascript_importmap_tags %>
  </head>

  <body>
    <div>
      <% if user_signed_in? %>
        <span><%= current_user.email %></span>
        <%= link_to "Sign Out", destroy_user_session_path, data: {turbo_method: :delete }%>
      <% else %>
        <%= link_to "Sign In", new_user_session_path %>
      <% end %>
    </div>

    <%= yield %>
  </body>
</html>
其中 user_signed_in? 與 current_user 都是由 Devise 所提供的方法。
我們重新整理頁面:
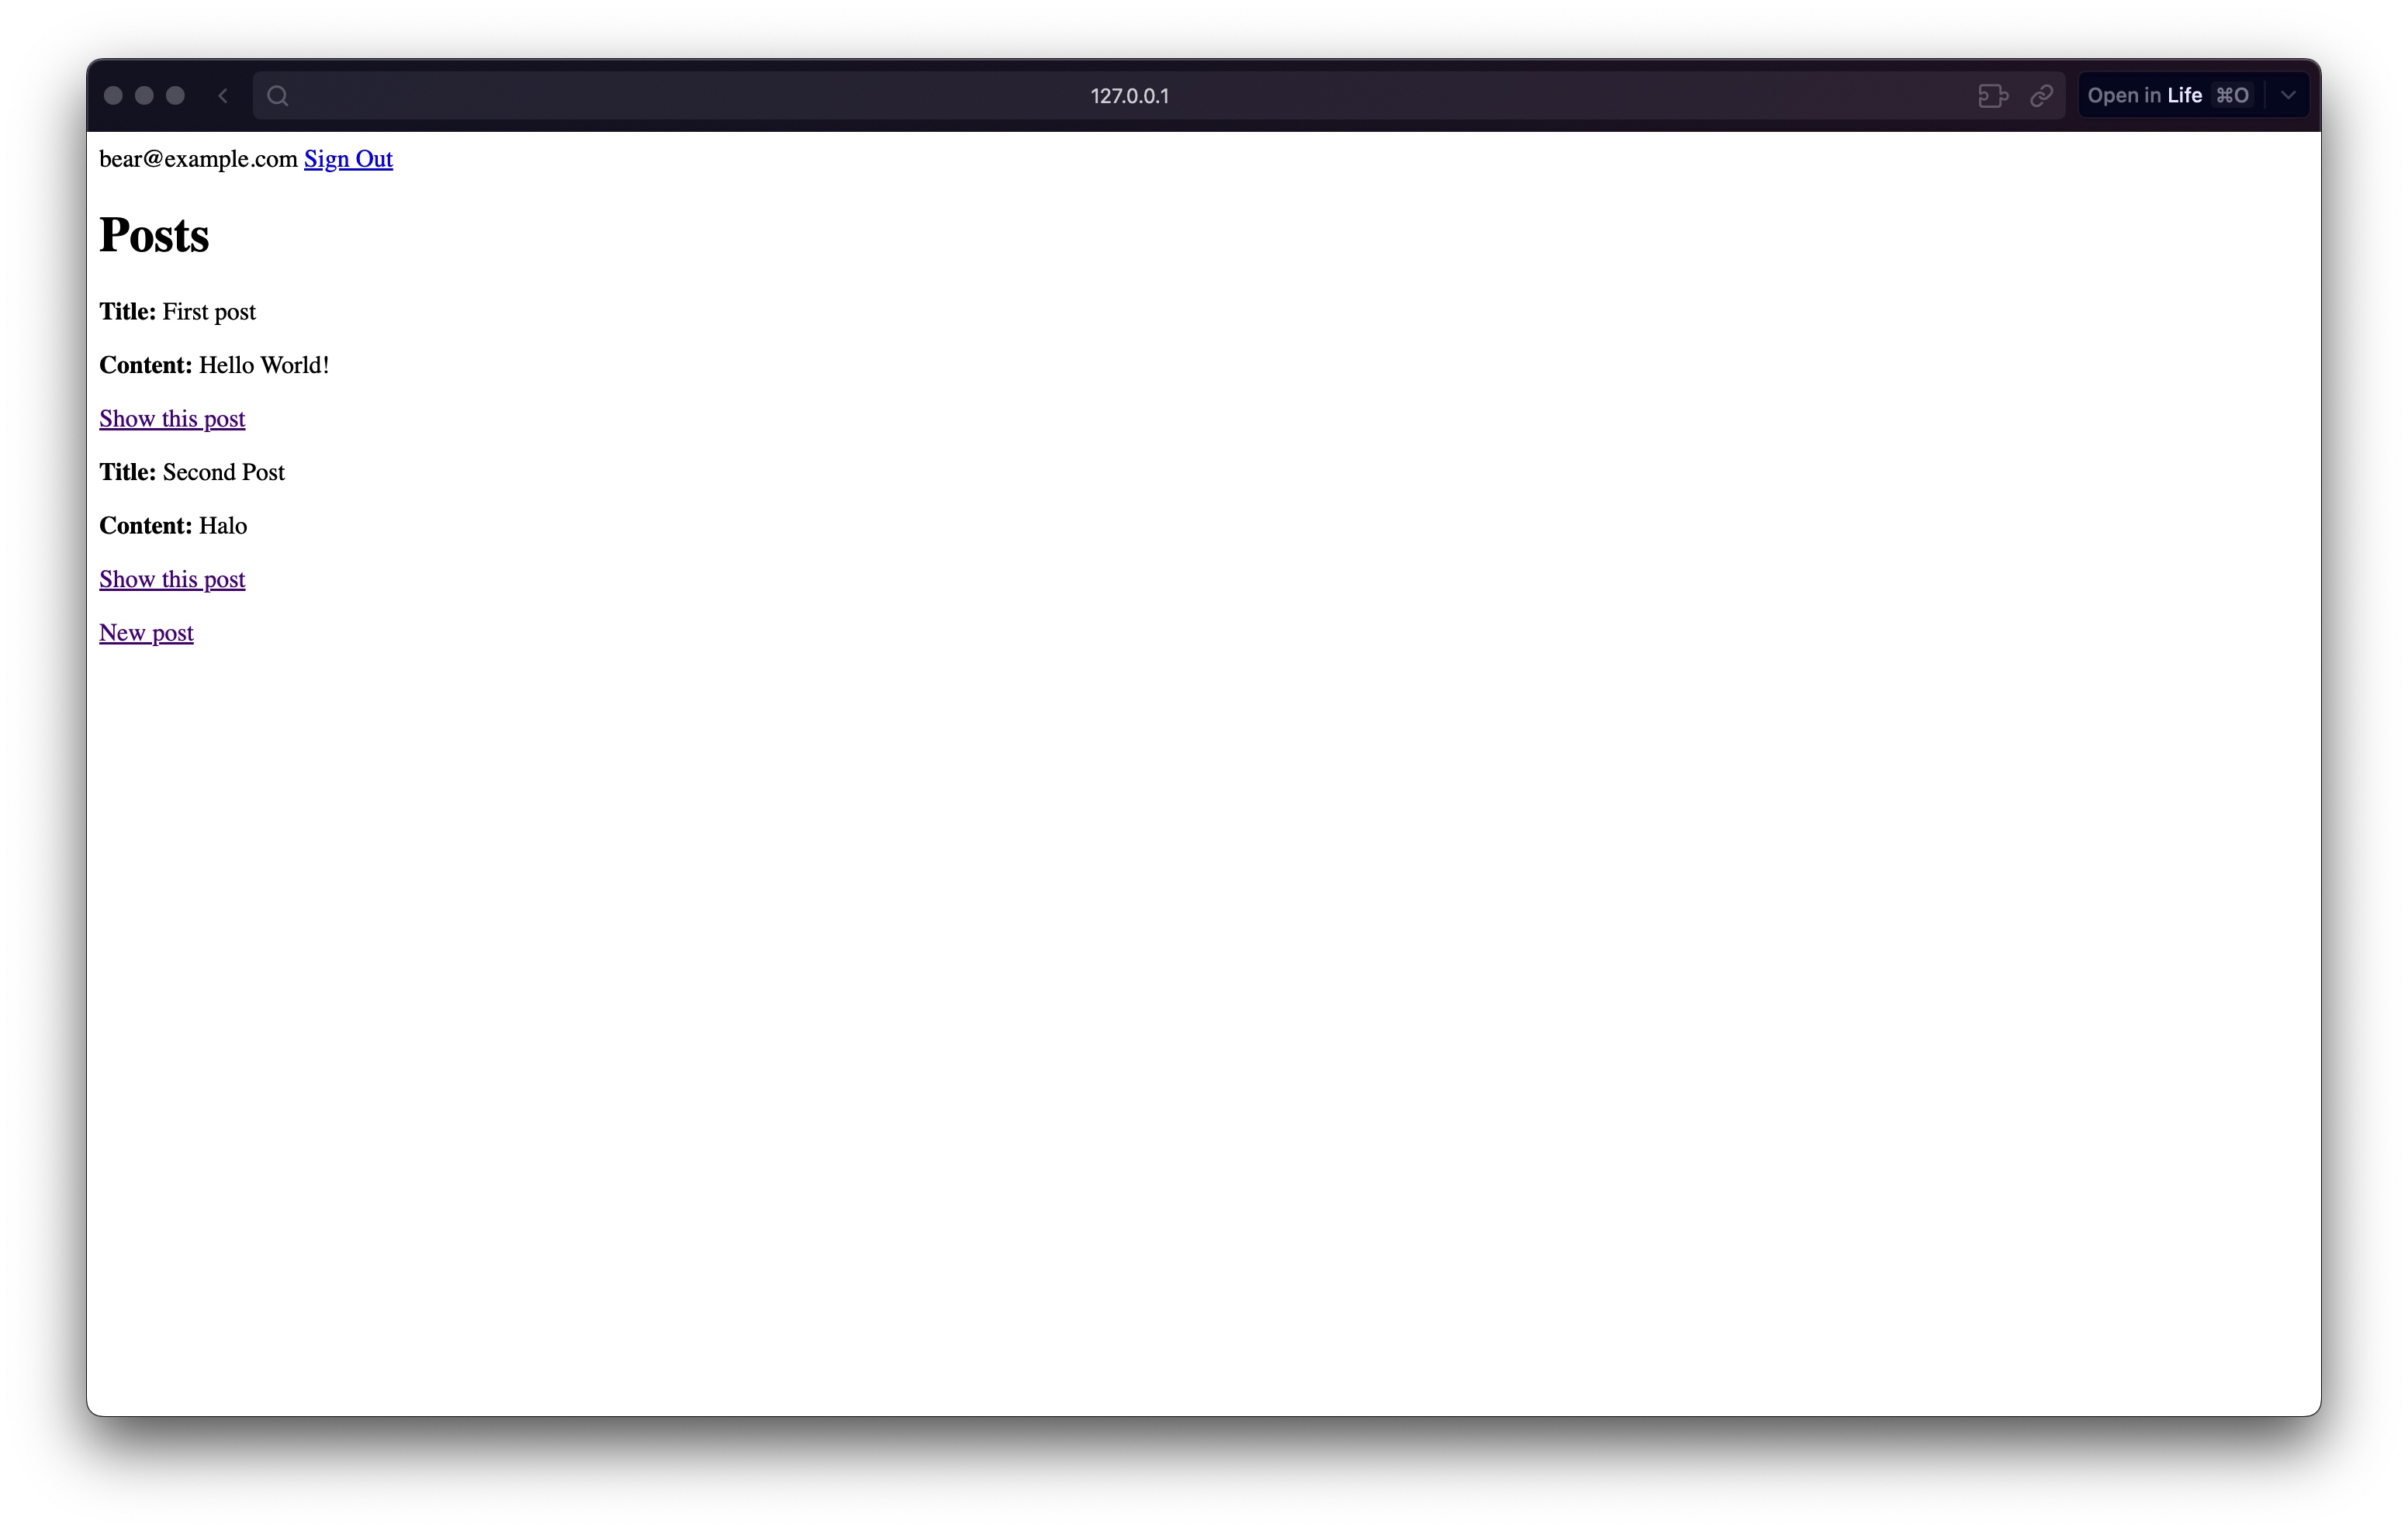
現在可以看到登入的使用者信箱和登出連結。
測試信件 
我們可以使用忘記密碼功能,讓 Devise 寄送信件。
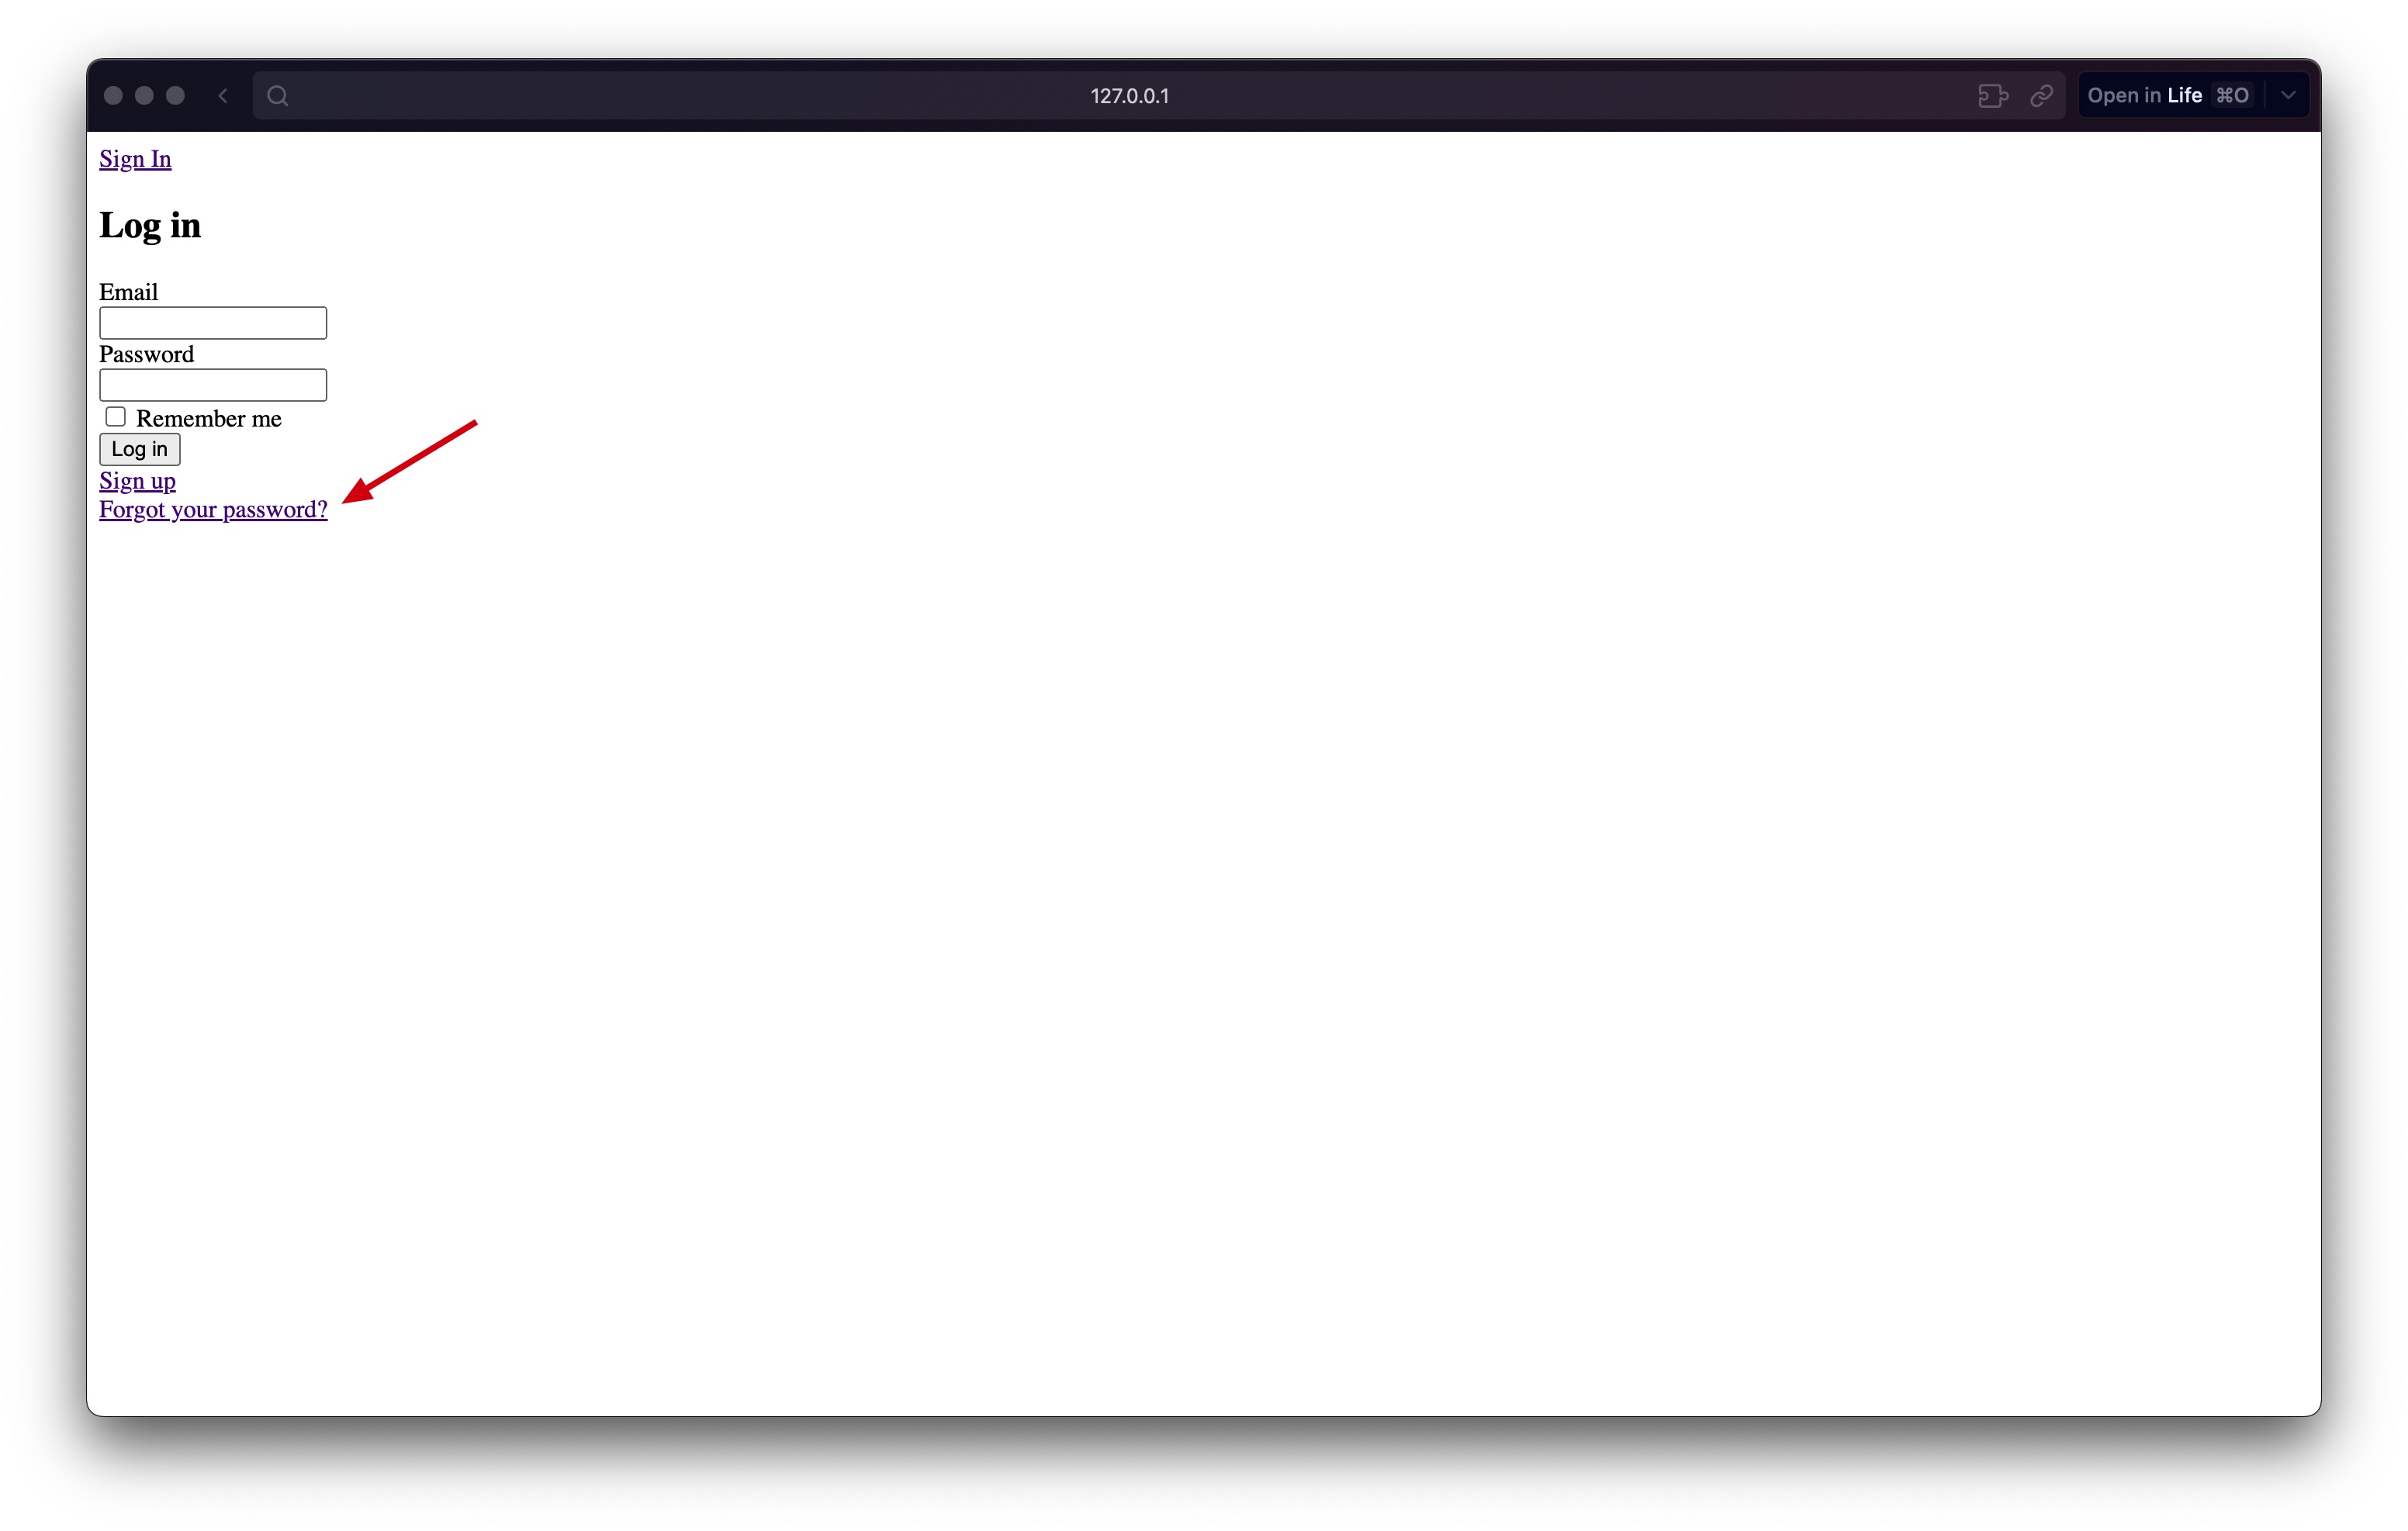
我們回到登入頁面,點擊 Forgot your password?:
輸入註冊的使用者信箱後點擊 Send me reset password instructions:

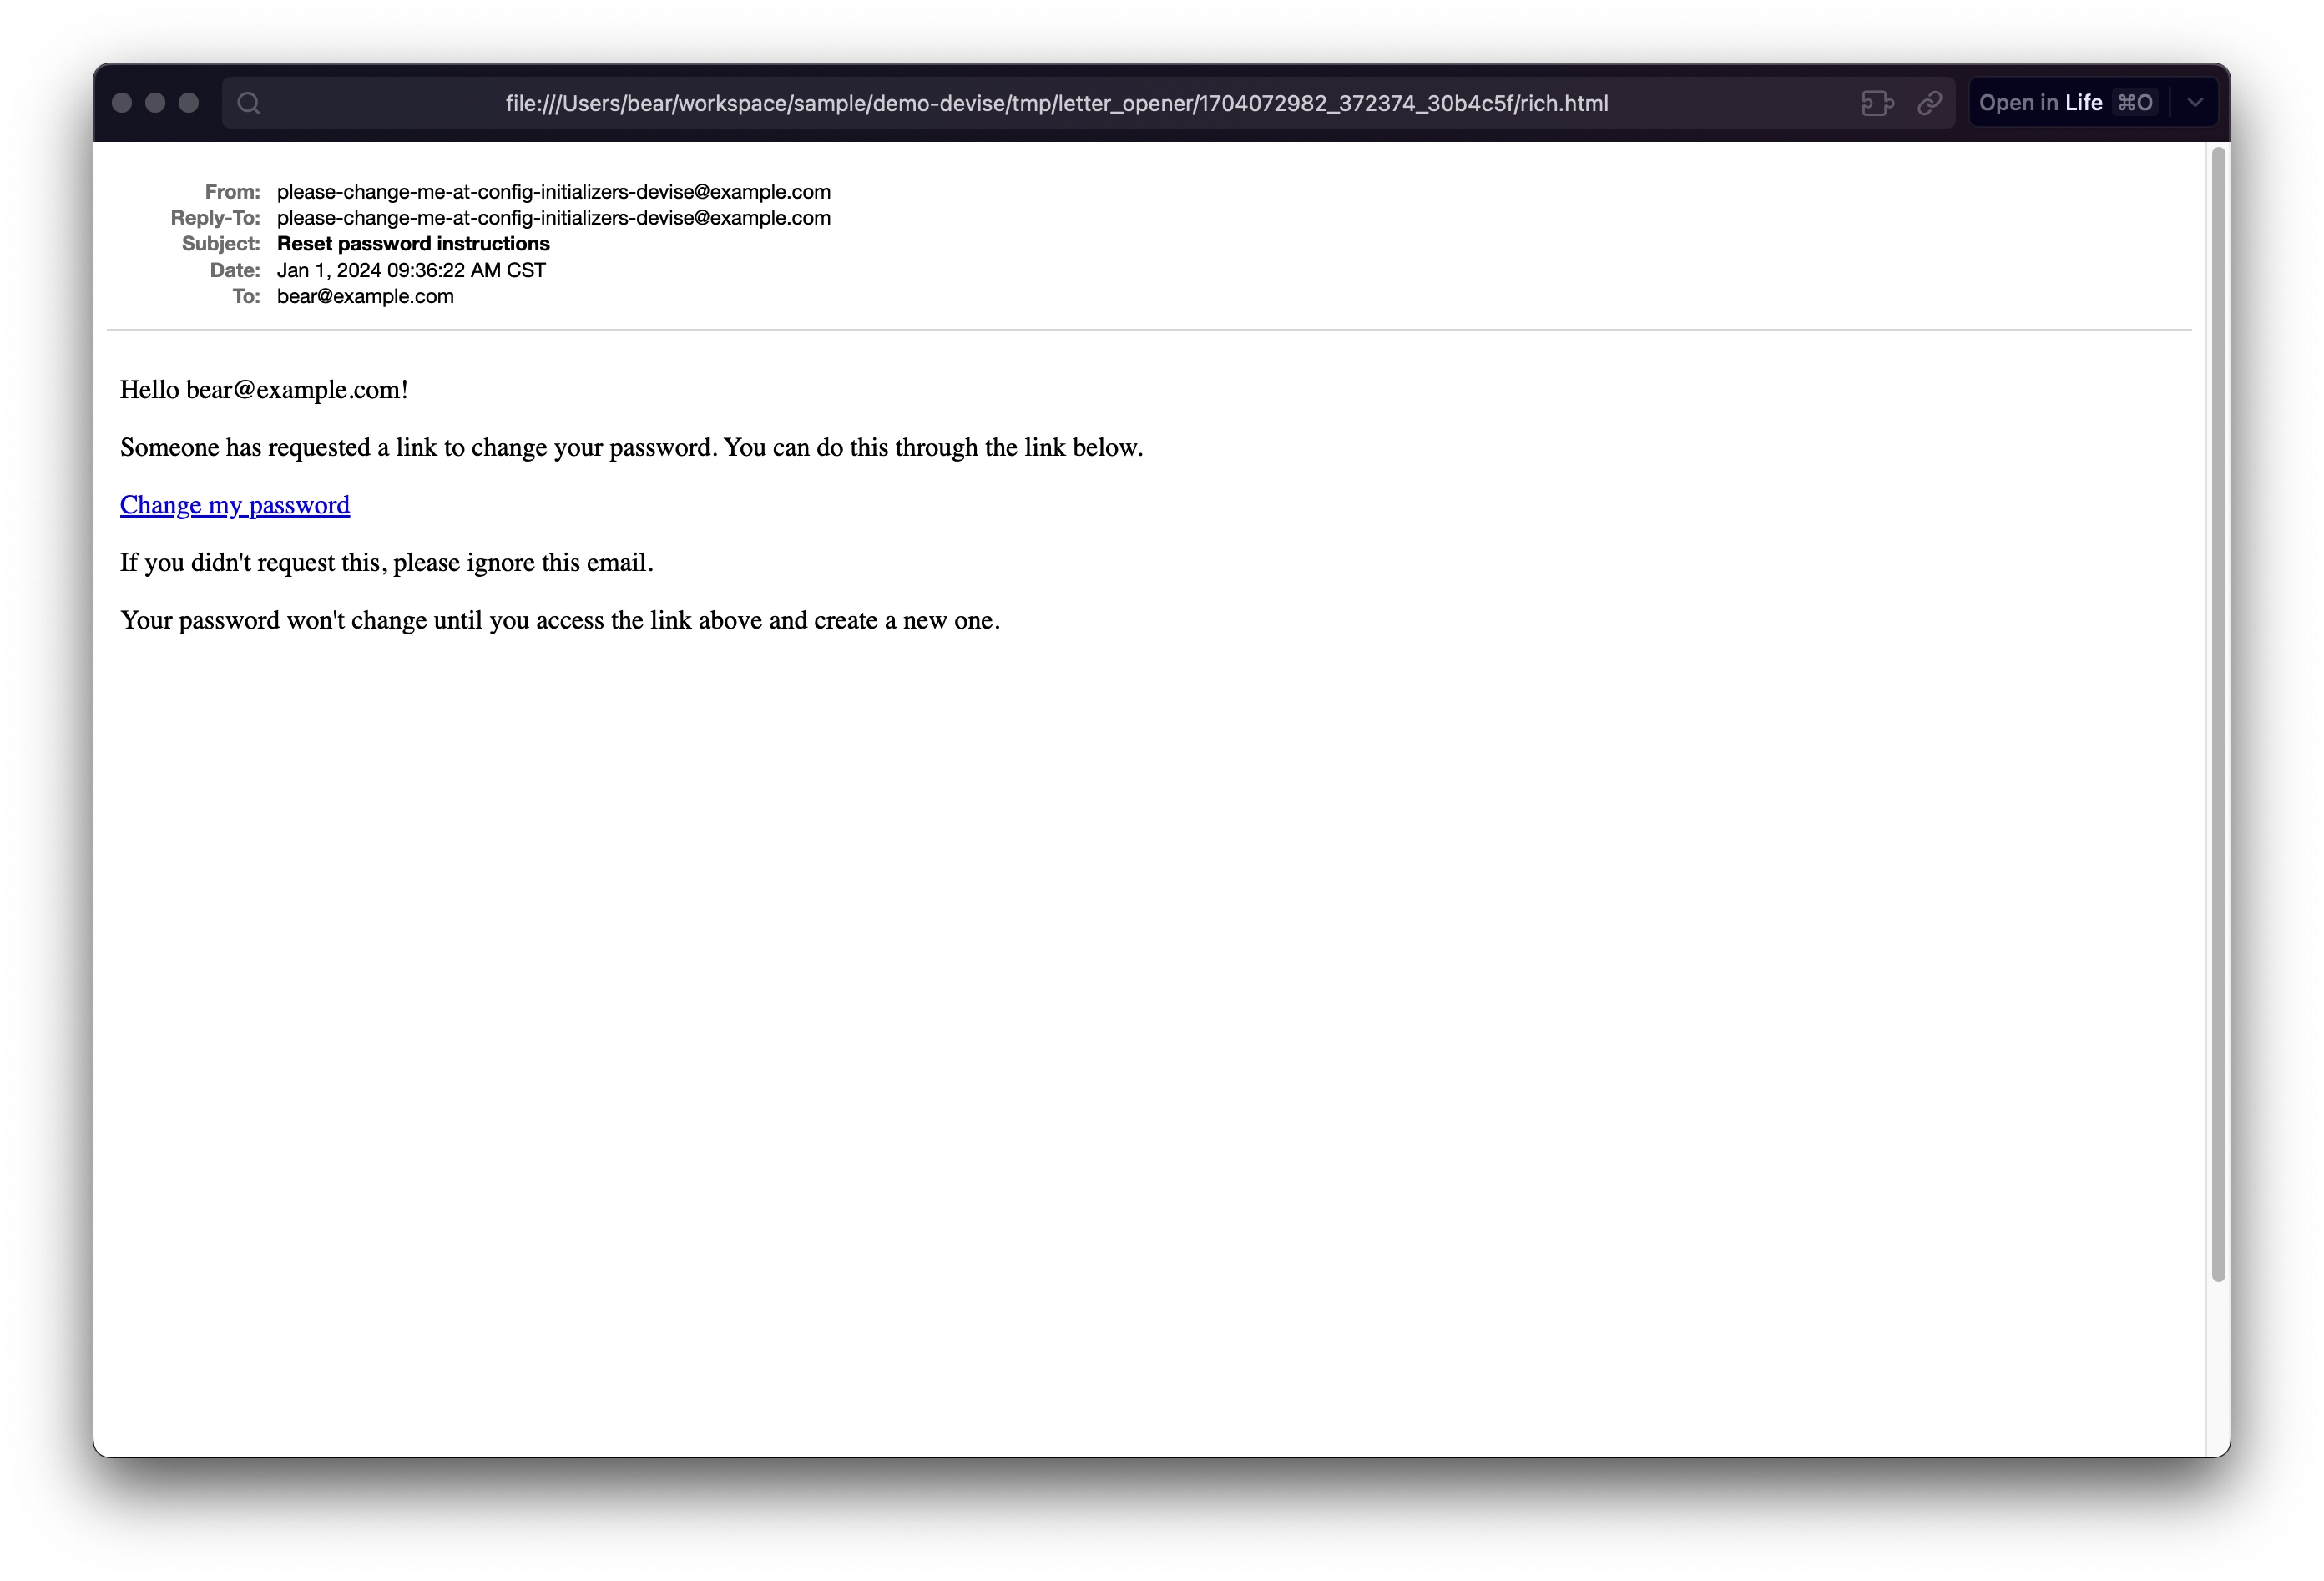
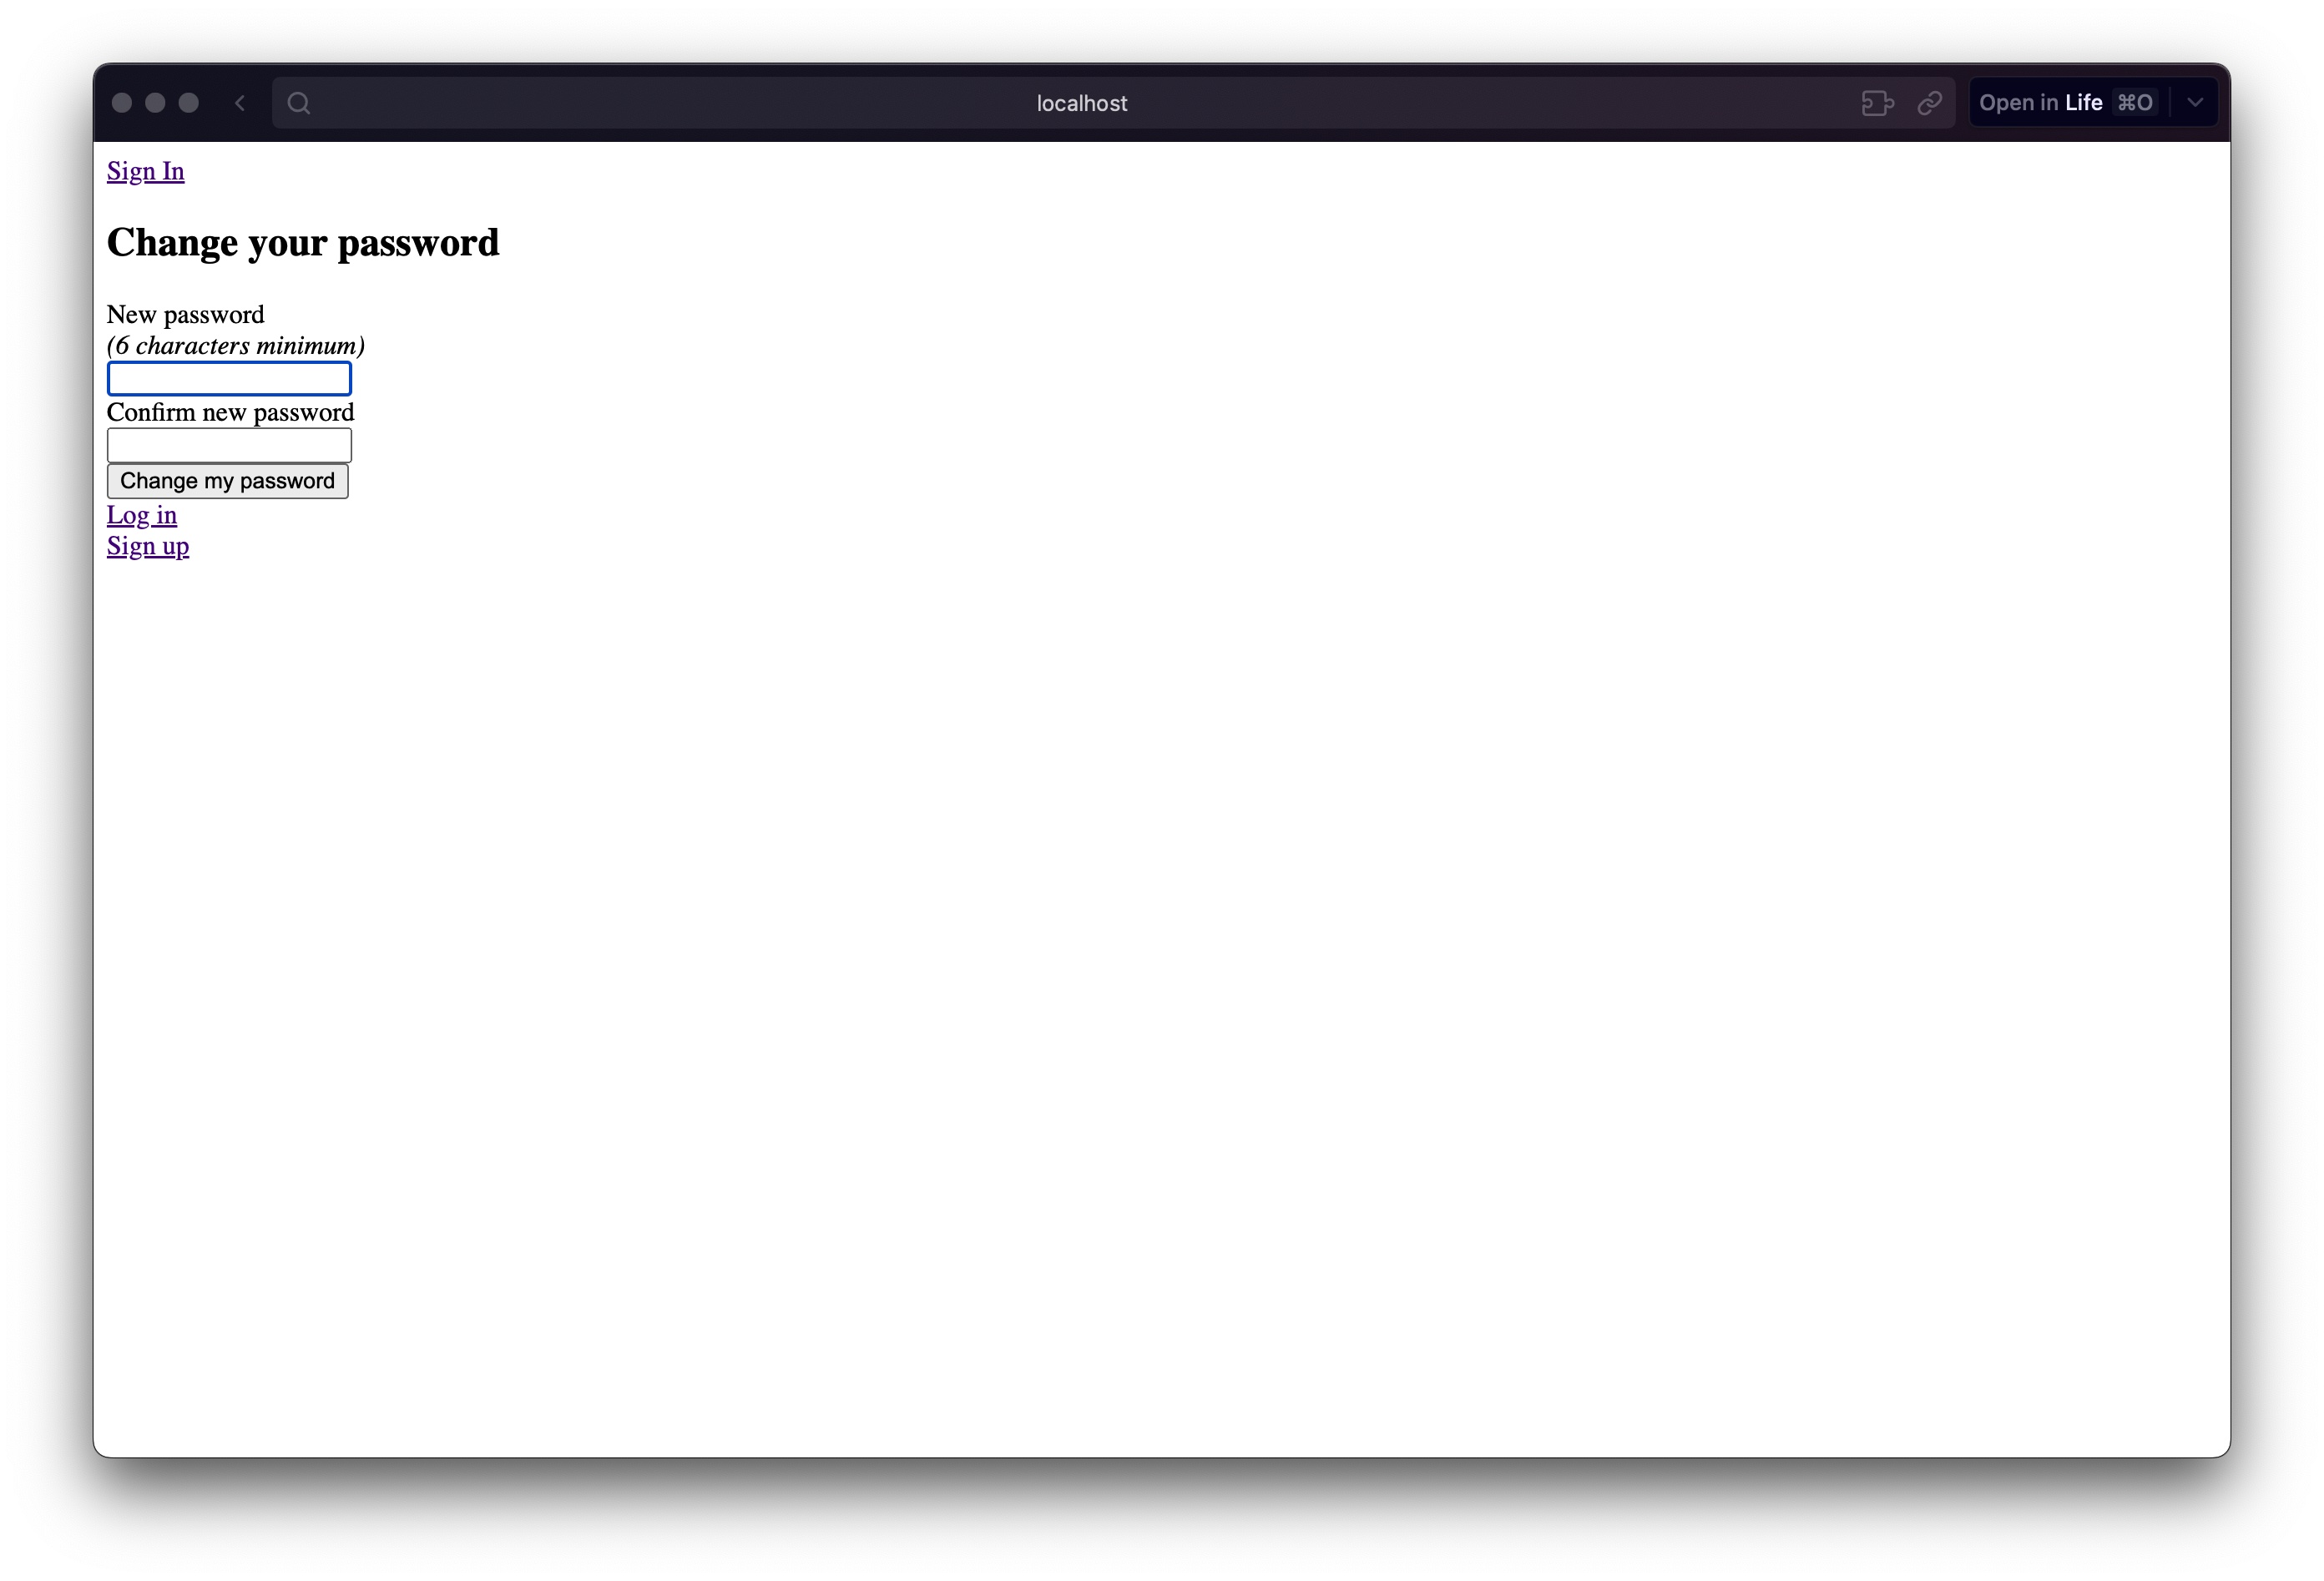
因為我們在開發環境使用了 letter_opener gem,當 Rails 寄送信件時,瀏覽器會彈跳出預覽信件的視窗,我們點擊信件內容中的連結就可以為使用者重新設定密碼:
總結 
透過本文的步驟,我們一步步使用 Devise 在 Rails 專案快速實現最基礎的使用者驗證功能:
- 保護頁面功能,自動轉導到登入頁面
- 登入
- 註冊
- 修改密碼
我們可以發現後面我們在 Router 上用一行就設定好相關的路由,在 Controller 上用一行就設定好保護了哪些頁面,在頁面中我們使用 Devise 提供的 Helper 方法取得登入資訊。但現在開發下,我們常常會需要進行客製化。Devise 當然也提供了客製化的選項,除了透過修改設定檔的值之外,我們也能透過 Devise 的 Generator 來產生檔案,去覆寫 Devise 原本提供的功能行為與頁面樣式。
另外最近有個有趣的新聞是 Rails 8 預計加入使用者驗證功能的 Generator:Add basic authentication generator,有興趣的話可以加入討論提供建議。